Categories
Uncategorized

New black mugs: tips for nailing your design

We’ve added black mugs to the launcher—but there’s a few differences you should know when creating your design.

Long-awaited black mugs are here. Read through the tips below to make sure your design looks exactly as you imagined. 

The printable area 

Let’s start by explaining how it works. The entire mug is black, but the actual printable area is white. During the sublimation process, the white sublimation area is filled with your artwork, and the “negative” areas of your design will be printed black to match the mug.
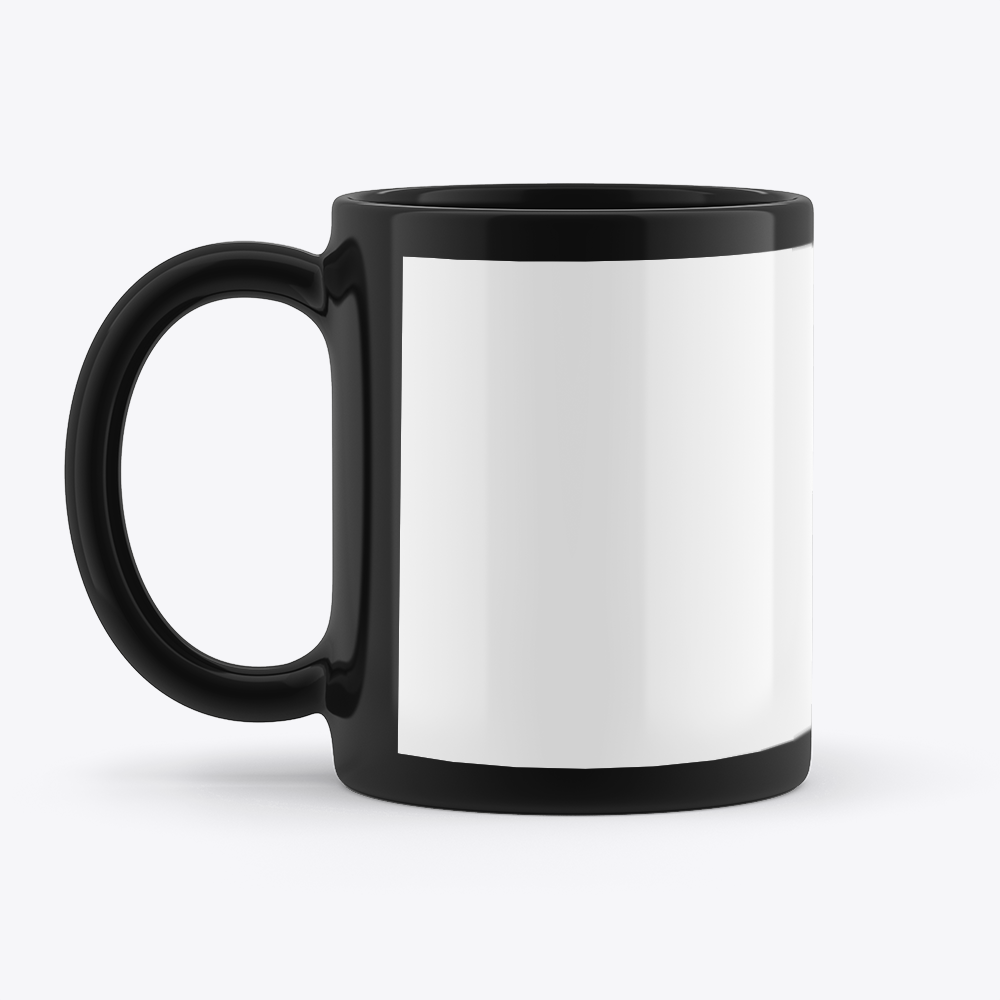
Use an off-white color palette 

If there are white elements in your design, those areas will not have any ink applied. They’ll be treated as ‘empty’, meaning the white printing area will show through instead. Ideally, you don’t want this—ink may also bleed into the white background area. If you have white in your mug design, we recommend making it off-white, rather than a true white color.
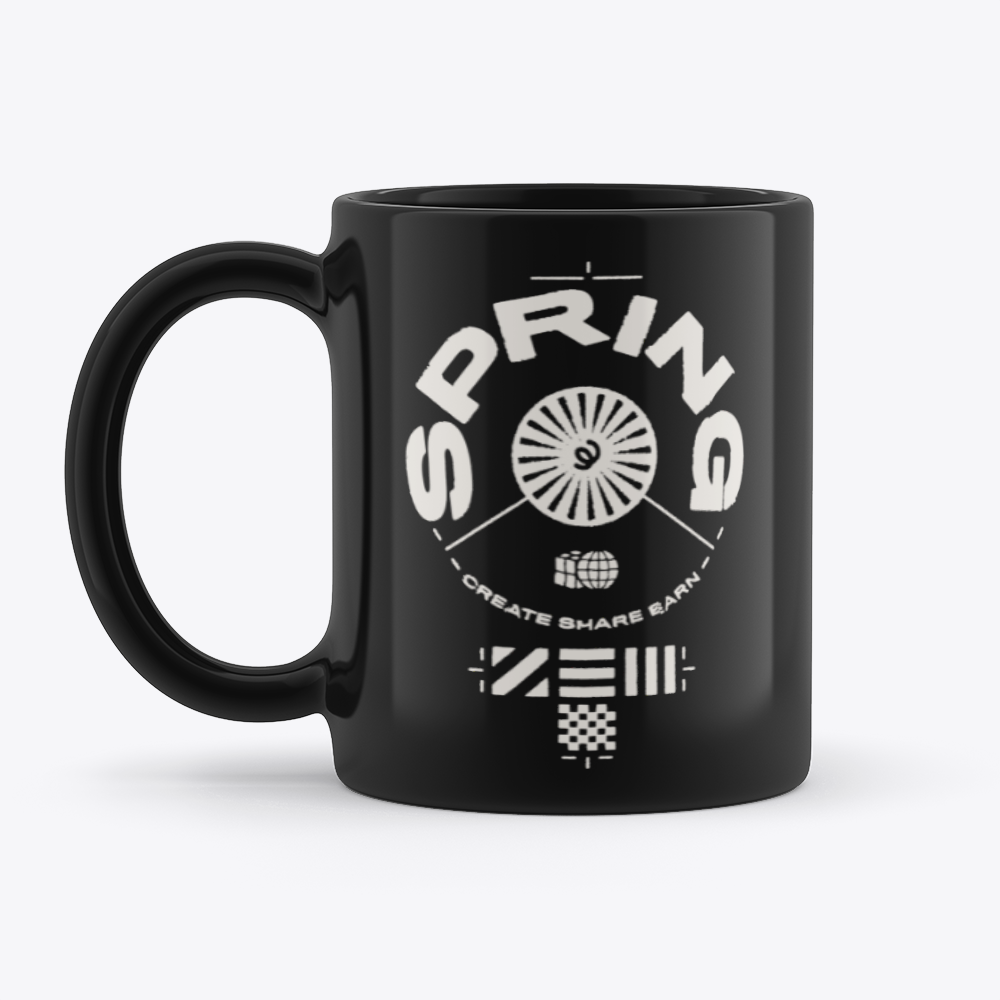
Keep it simple 

Since any negative space on your design will be filled with black ink, intricate prints may appear less crisp due to bleeding from the black ink. Keep your design bold and simple—this way, it will look more effective once printed. 

Design effect don’ts 

Also, we know it’s tempting, but refrain from applying effects when preparing your design. It won’t look great when applied to your mug and will often degrade the quality of your print. Examples of these effects might include: 

  • Drop shadows
  • Spray paint effects or gradients 
  • Low opacities—stick to 50% or higher

Avoid designs with straight edges 

If you can, try and avoid using designs with perfectly circle or square shapes. They may look warped when placed on a round, cylindrical product like a mug.

That’s everything you need to create a 10/10 design. Head to the launcher below to start. 

Categories
News

Creators are earning 100% profit with Shops on Instagram

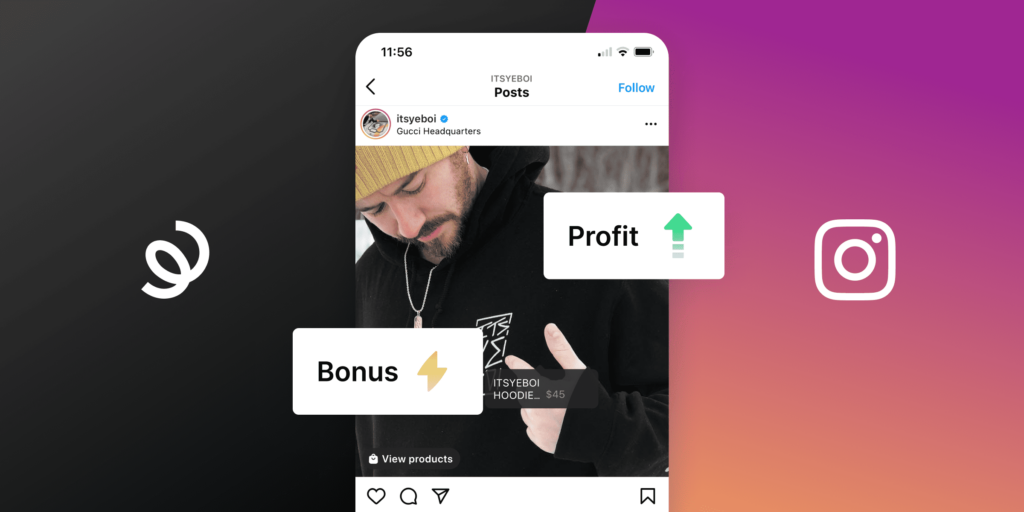
Instagram is rolling out access to Shops on Instagram to 350,000+ creators just in time for the holiday season. Creators can earn 100% profit on all sales driven through the shop integration from now through December 31, 2021. 

Eligible creators can earn up to a total $50,000 in bonus profit—sell a hoodie for $40, and keep all $40. Need we say more? It’s time to ramp up sales and make bank. Once you’ve set up your shop, you can use powerful promotional tools like tagging your products in posts, stories, reels, and more.

You can check your eligibility for this integration at any time. Head to the Integrations section of your Spring account to learn more.

How will creators earn 100% profit for shop sales with Spring? 

This initiative is spearheaded by Spring x Instagram and is intended to further accelerate the creator economy for both aspiring and established creators. During the 2021 holiday season, creators will earn 100% profit through their shop on Instagram from November 1st until December 31st. Every creator can earn up to a total value of $50,000 in bonus profit during this time. 

When do creators receive their bonus profit?

Bonus profits from shop sales will be paid within the first 10 business days of the following month. For example, a shirt has a base cost of $10 and is sold for $25; the creator will immediately receive $15 in their Spring account, and the remaining $10 will be paid as the bonus profit at the start of the following month.

Where can creators see their bonus profit amount? 

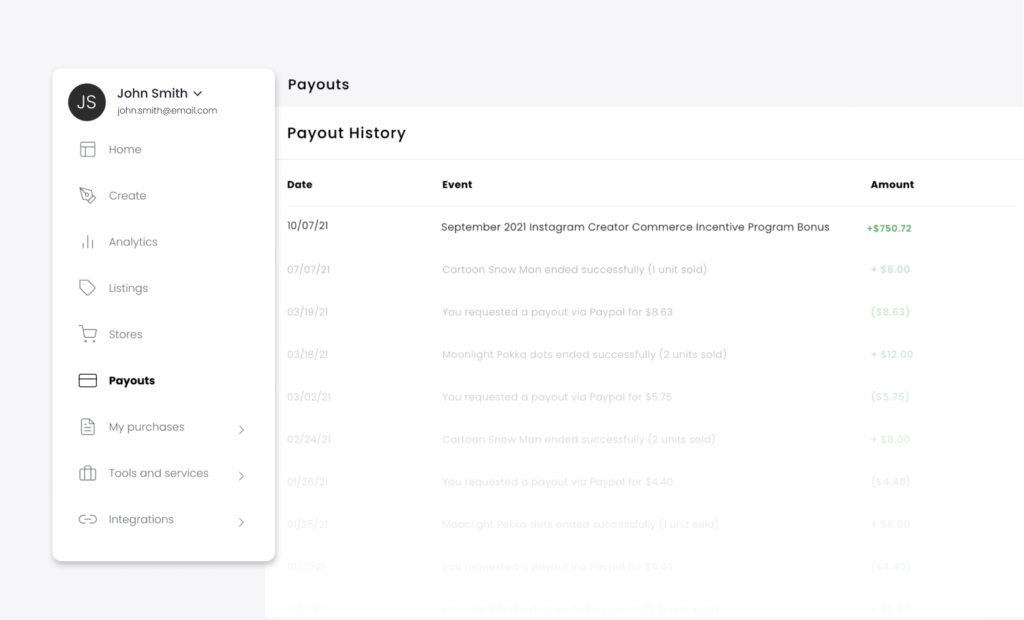
Bonus profit will be visible within the Payouts section of your Spring account. Bonuses will appear as a credited amount titled “2021 Instagram Creator Commerce Incentive Program Bonus.”  

If you’re not eligible yet, no worries. There’s plenty of ways you can make this holiday season your most profitable. See some tried and true tips for you below. 

Categories
Insights

How to beat shipping cutoff dates this holiday season

We’ve got your back—here’s tips for getting the most out of peak season, while making sure fans receive their orders in time for Christmas.

This year, the holiday selling season is going to be huge. That’s why we’re working to make it run smoothly for you; we’ve sourced inventory to maintain stock levels throughout peak production and coordinated with delivery partners to confirm optimum shipping timelines—everything is in place to ensure your fans’ orders arrive on time for December 25th.  

But don’t let the cutoff dates hold you back, learn how to extend your selling period all the way through peak selling season. 

2021 Christmas delivery cutoff dates

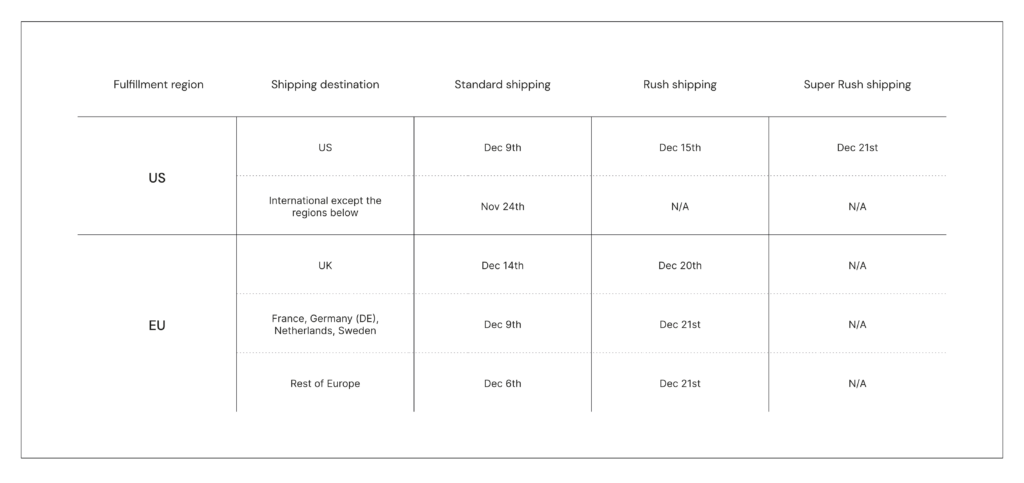
Take note of the important dates below. Fans need to place orders for physical products (i.e. hoodies, t-shirts, water bottles, etc.) by the standard shipping date to receive their order in time for Christmas. After the standard cutoff date, they should select rush shipping at checkout to get their order in time for December 25th. Make sure to mention these dates as you’re promoting products to your fans—this can create a sense of urgency and help you drive more sales.

Don’t forget we’ll communicate estimated delivery dates to your fans at checkout, in order confirmation emails, and in order status updates—so they should be informed of their order status every step of the way. 

How to extend your peak selling period 

There’s lots of ways to max your profits from now through December 25th—and you get going now. There’s two ways: start running sales from now through to shipping cutoffs, then push your digital product promotion hard right up to Christmas.

Start running sales (like, now) 

It’s proven that offering a discount can increase sales by 60%. Don’t wait for Cyber Weekend—last year orders began to spike as early as November 1st. Start promoting those early bird discounts and extend your peak selling period ASAP. Learn how creators are running successful sales in our guide now. Also, don’t miss our Cyber Weekend Guide for more tips.

Go digital for the holidays (what cutoff dates?)

Promoting digital products is the smartest way to keep profits coming in right up to 25th December. With instant delivery, there’s no shipping to worry about.

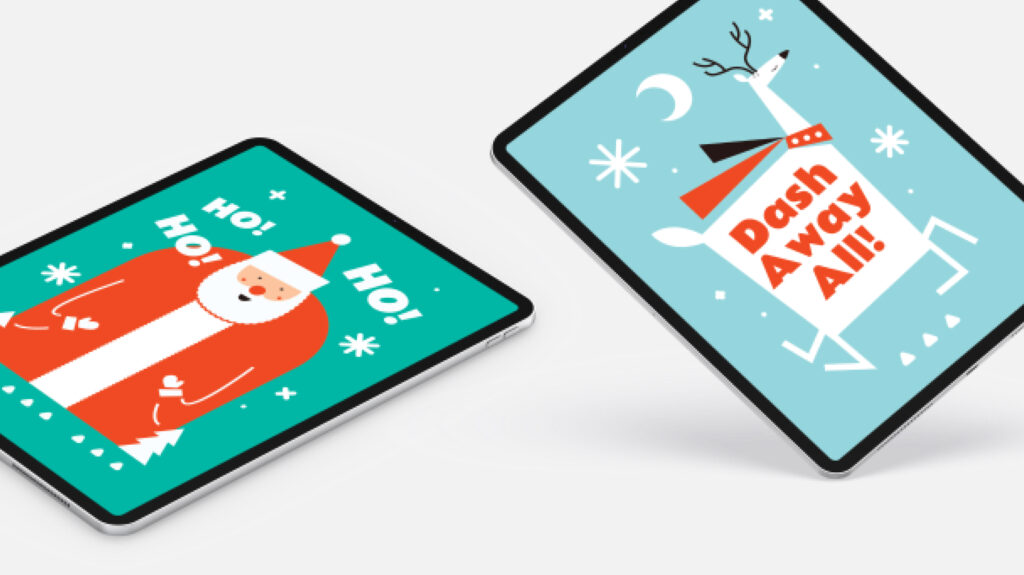
Already selling digital products? You can “holidize” them to put a new spin on a successful product. New to digital products? No worries, find digital inspo below, as well as free templates and tools. No design experience required.

Categories
Uncategorized

Get more personalization and 3x your sales with custom product images

If you’re here, you’ve received an exclusive invite for our new service: custom product imagery.

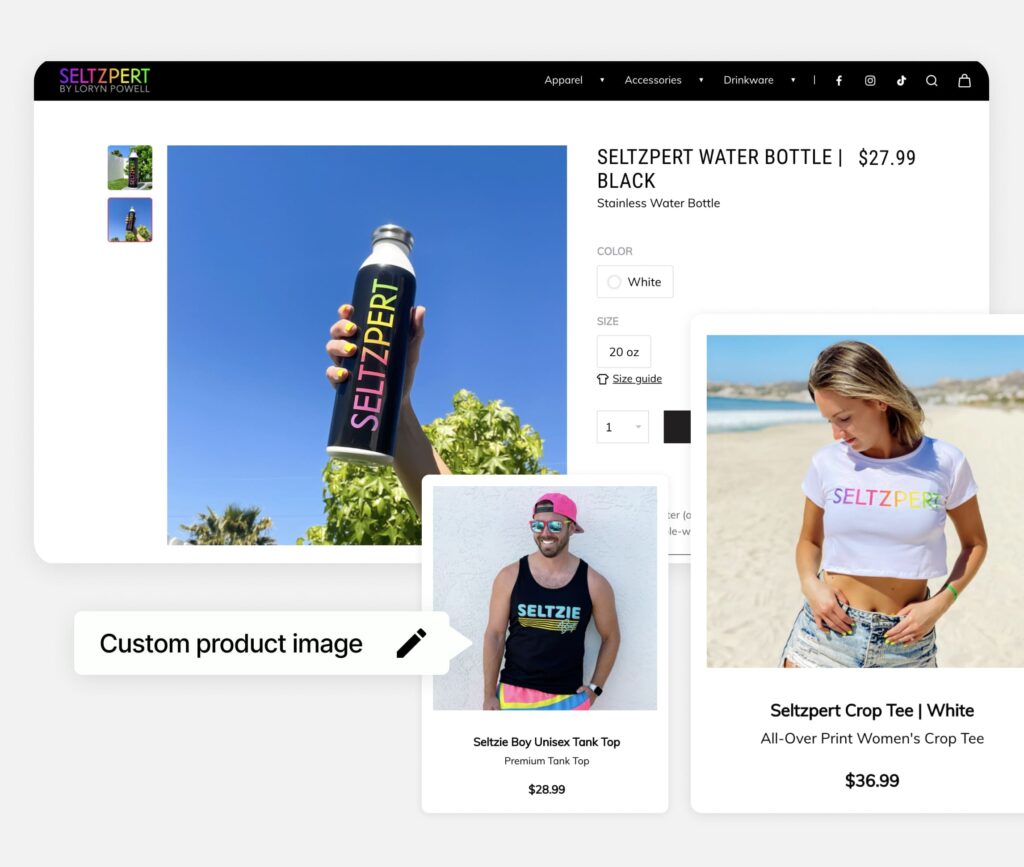
There’s something magic about seeing products in the wild. That’s why we’re offering custom product images for select creators. But don’t delay, this is a limited time service. You have until November 10 to submit custom product images for this round of beta testing. Learn how to get started. 

How it works is simple:

  • Order a product sample
  • Take a photo
  • Submit to our team (you can send up to two images)
  • Rake in the sales

So far, we’ve seen several creators who’ve added custom product images triple their sales. If you haven’t ordered a product sample, you can learn how here. It’s pretty simple. 

Also note: We’ll keep all your “flat lay” images so fans can see what your product looks like.

Tips for taking product photos

There’s just a few ground rules you should follow.

  • Use real photos you’ve taken. Stock images will not perform well—your fans want to see you in your custom images.
  • Only submit PNG or JPEG file types. We cannot accept other file types e.g. HEIC
  • You can submit up to two custom images, photos must feature the same product and color option. We’ll keep two of the original product mockups so fans can clearly see what products look like.
  • Show your design clearly. If your design is featured on the front of your hoodie, make sure you’re facing the camera. Make sure your brand (and not any others) are the main focus of your images, too, and not being obscured.
  • Focus on photo quality. Take your photographs in a brightly lit area and ensure your photo is in focus. 
  • Do not alter or add filters. This may cause the colors of your auto-generated flat-lay image to differ from your custom product image. 
  • Send in a square image. We recommend 1000 x 1000 pixels.

Get started below.

All we need is the following: 

  • Your image file 
  • URL of the listing you’d like customized
  • If there’s more than one product in your listing, specify which one you’d like updated
  • Your Spring email

Categories
Creators Insights

How to Announce a Sale on Your Socials

So you’ve got your promo code, what’s next? One of the highest priority items on your to-do list: plan effective promotional content to get your community flocking to your store and filling up carts.

The key: use sample imagery

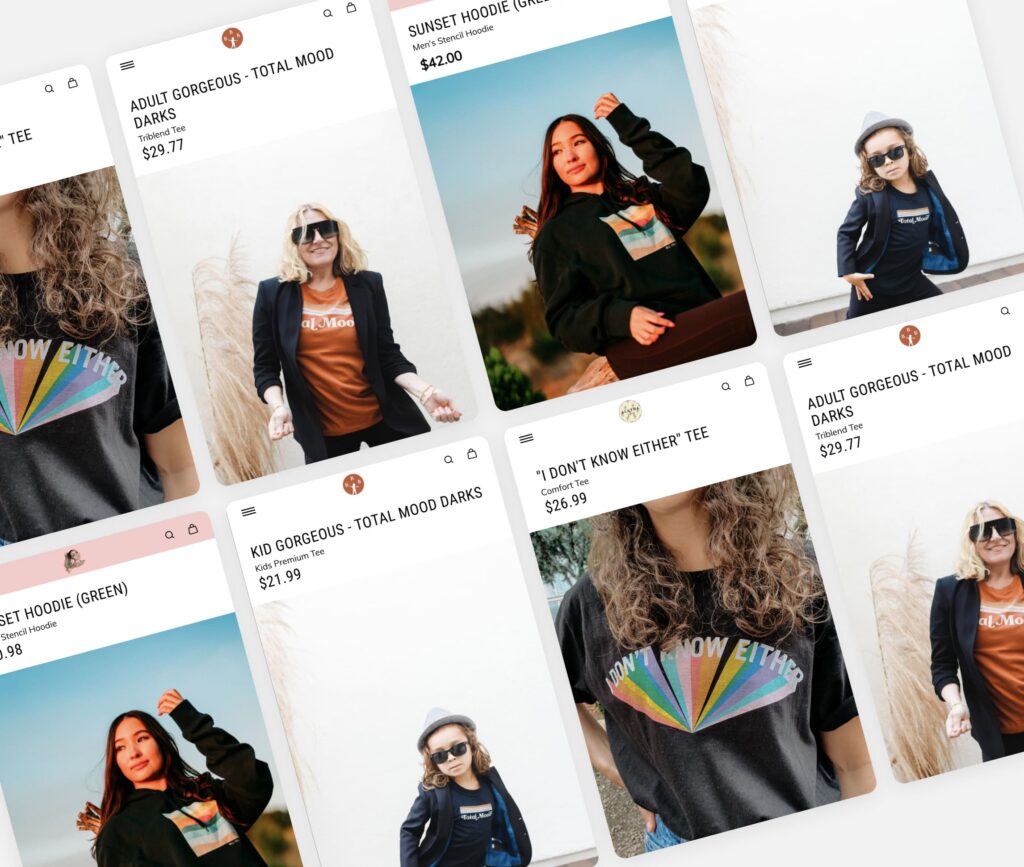
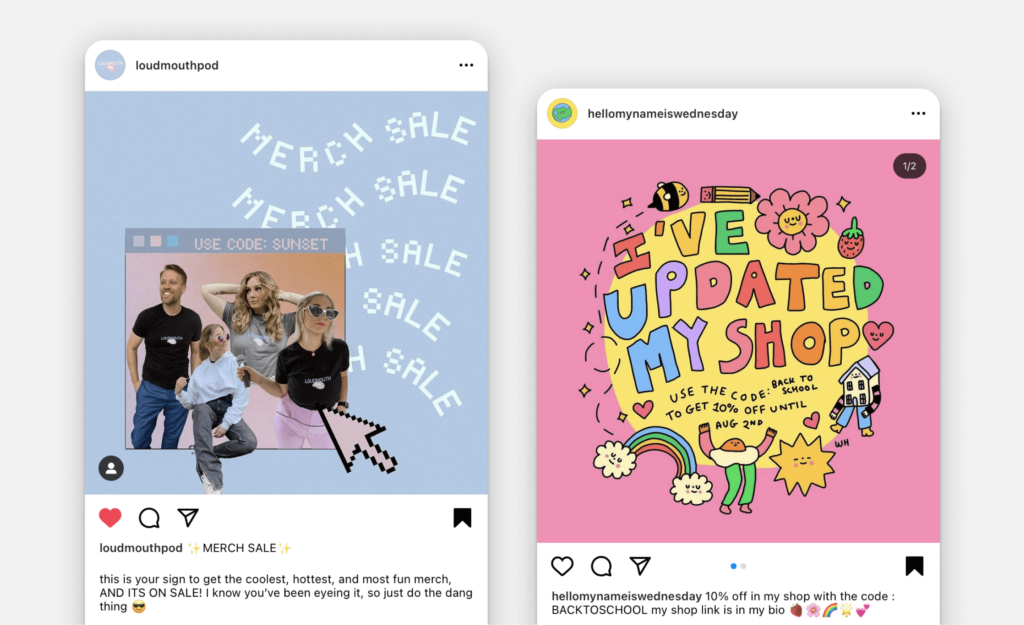
Creators who feature samples in their promotional content earn as much as 200% more profit on their products. @loudmouthpod (below) and her photoshoot collages—genius as always. Head to Canva and you’ll have access to hundreds of free social media post templates.

Make your promo code stand out

For fans to apply your discount, they’ll need to know which code to apply at checkout. Ensure you either include it in your promotional imagery or within your caption. @hellomynameiswednesday (above) draws attention to theirs by including it in their graphic.

Thank fans for their support

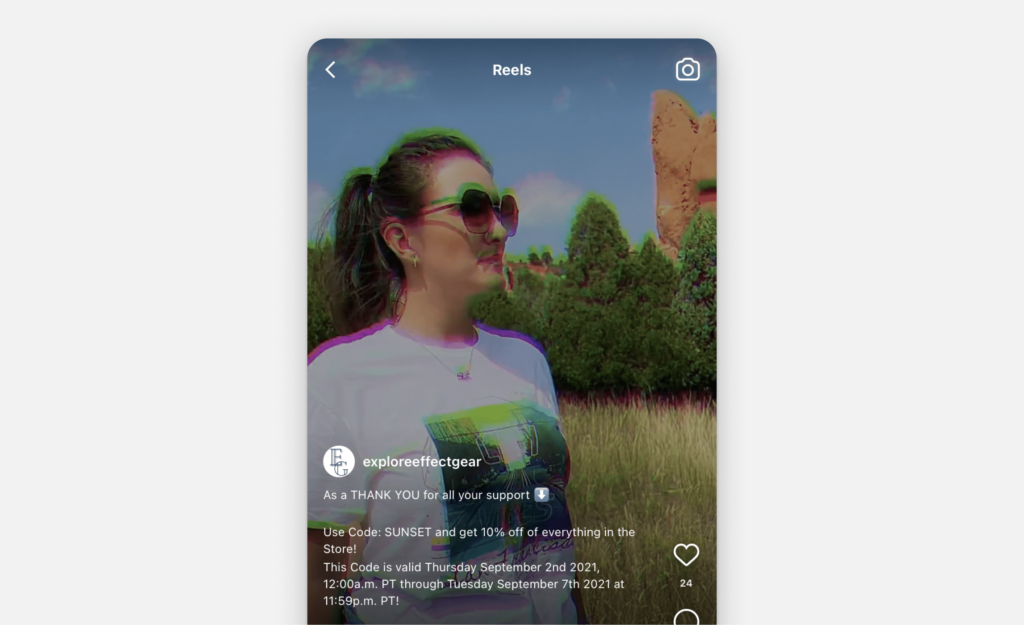
Running a sale is a great way to thank your community for their support. Check out this video content too, featuring samples (of course). Absolute promo goals from @explorerffectgear, who has thanked their followers in their caption.

Include details of your sale in your caption

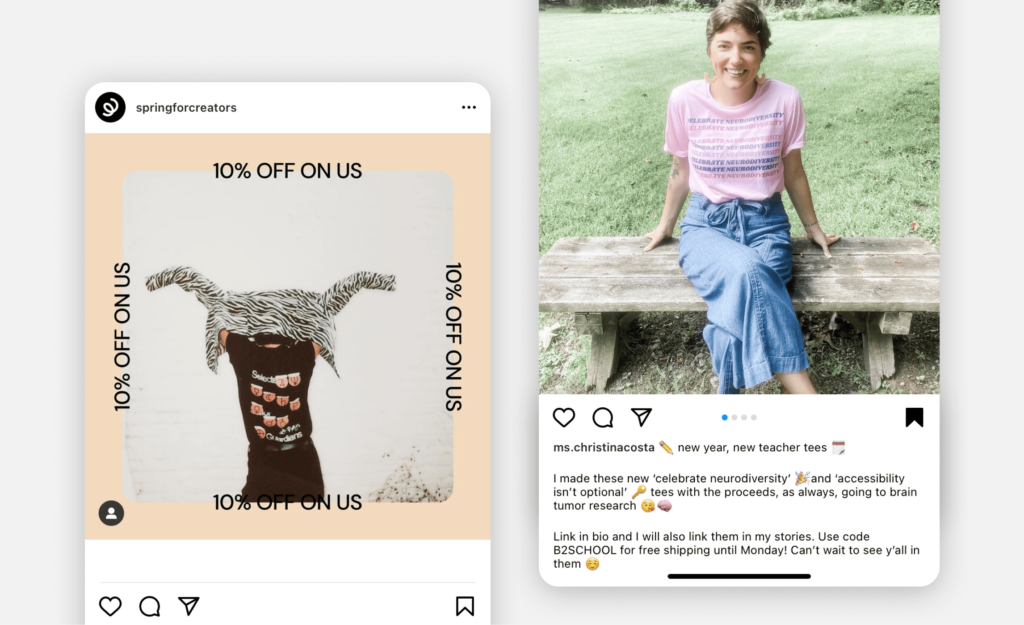
Don’t want to come across too ‘salesy’ or disrupt the theme of your content? Include the details of your sale within your caption instead. Also provide a link directly to your product (important one). @ms.christinacosta is making great use of the Instagram integration below. If you don’t see the “Add Shop” button, be sure to embed your store within your Linktree. 

Your discount amount should be the boldest part of your promo content. You need to give your community a reason to purchase your products in this limited amount of time‑ state the percentage or amount of money they will be saving.

Last minute sale? No worries. Use typography.

We’ve used an example from our grid here. A promo post can be text based and still catch the eye of your fans. Plus, it looks great (and unmissable) on your grid. Create Instagram stories to go with it, and you’ll watch the sales roll in.

Categories
Insights

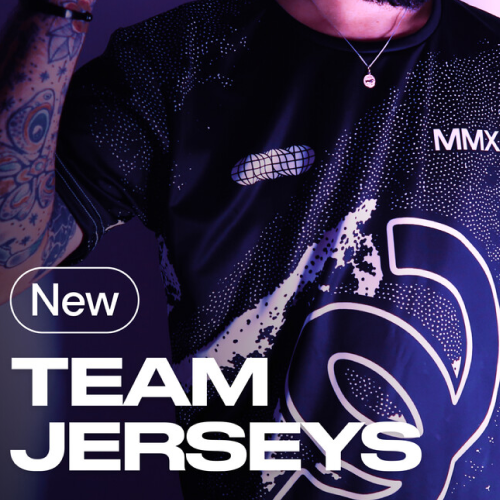
Squad up: Team Jerseys have landed.

Calling all fitness fanatics, e-sports extraordinaires, or anyone with an engaged community. We’ve got product newness, available for all creators: Team Jerseys.

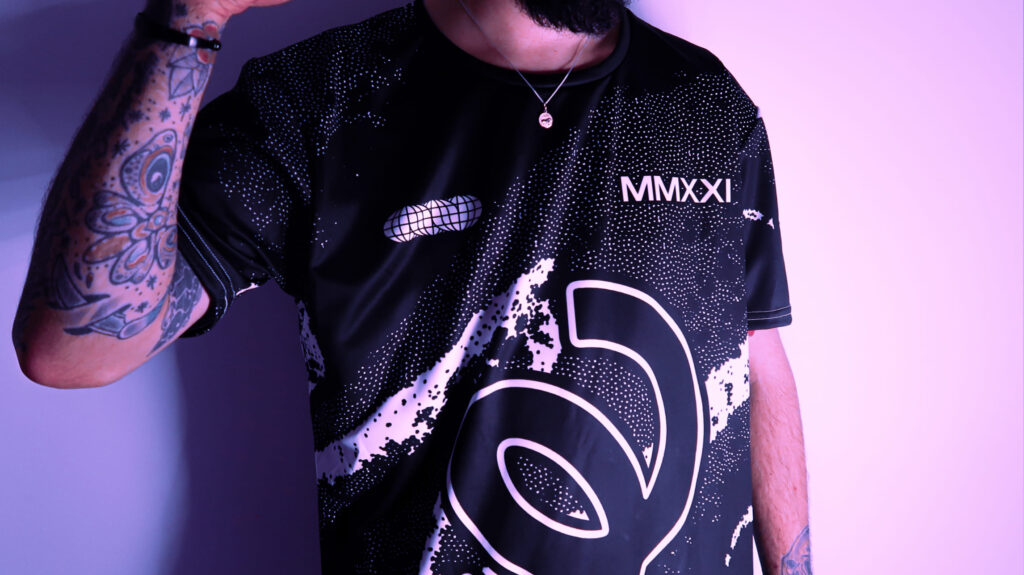
Drum up some team spirit for your fans with this fully customizable jersey. Create yours now via the link below—or keep reading to learn about product details and design inspo. 

Product details

Team Jerseys are built with quality and performance in mind. Why do we love them? 

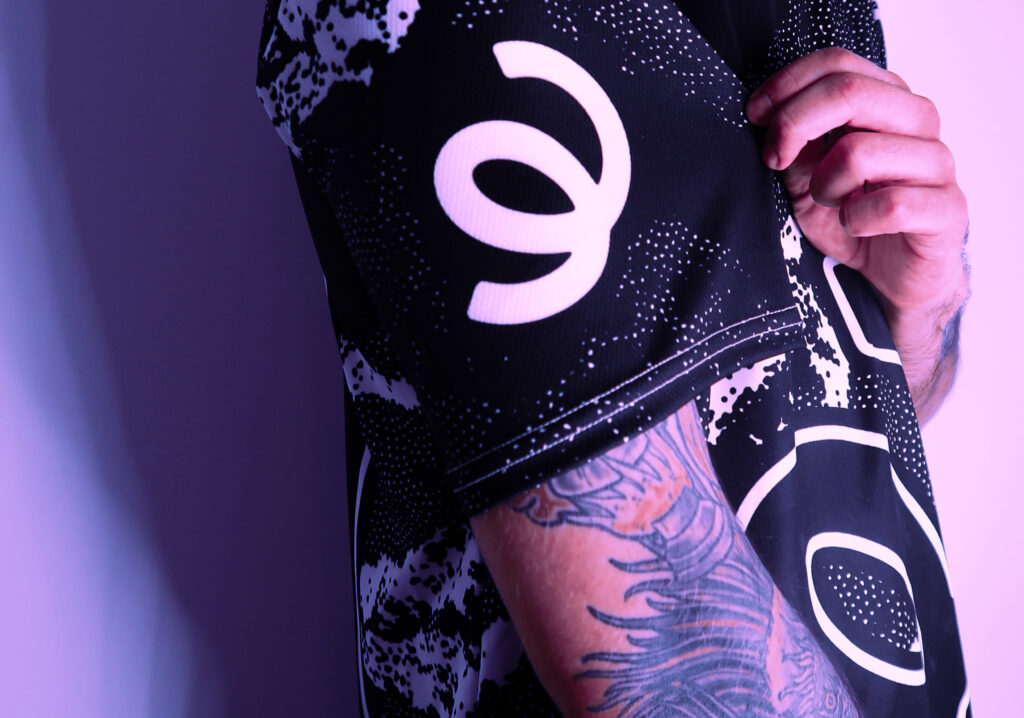
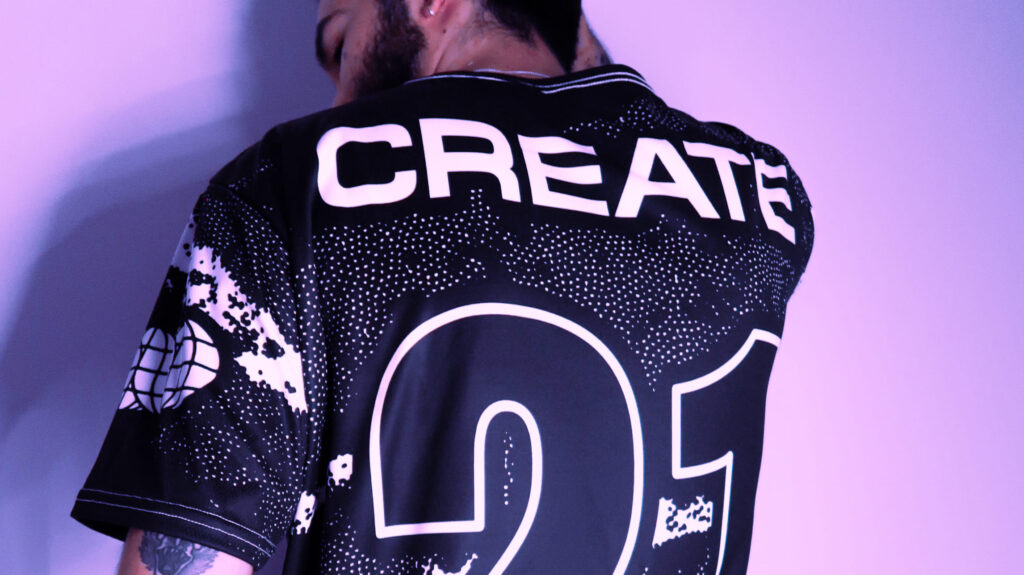
  • Fully customizable: Apply your designs to the arms, back and front. 
  • Premium, 100% polyester wicks away sweat as you workout. 
  • Birdseye sleeves add extra breathability.
  • Super soft fabric makes them comfortable also for lounging around. 
  • With a base cost of $32, we recommend you sell your Team Jersey designs starting at $39.99. There’s plenty of opportunity for profit.

File formatting tips

Start putting your Team Jersey design together using the template linked below. Download the .psd file and find instructions. Find design formatting pointers here.

Design ideas to get you started

Here’s a few design concepts to get you on the right track: 

  • Play the numbers game: Consider adding a number that’s significant for you and your fans. 
  • Add your branding: You might build your logo into the design, applying it to the sleeves, the main focus at the back of the jersey, or along the bottom. Think about using your social media handle as the main design element.

  • Use winning words: Is there a tag line you always use in your content, or an inside joke you share with fans, or a nickname for your community? Make it the focal point of your Team Jersey.
  • Choose popular colors: Feature your go-to color palette—maybe it’s colors you use often in your content or in your branding.