Categories
Creators Insights

STEPS TO PREP FOR BLACK FRIDAY

The unofficial start to holiday shopping is the day after Thanksgiving, popularly known as Black Friday. But we like to think of it as Green Friday because some creators sell more during the holiday season than the entire year combined! Make this holiday season your most successful yet by planning your Black Friday promotions in advance so you can increase traffic and sales during this pivotal time.

From designing holiday products, to ordering samples and then setting up promo codes, the weeks leading up to Black Friday are vital. Don’t worry if it seems overwhelming—we’ve boiled it down to 3 Simple Steps to Prep for Black Friday!

Your first thought might be, “What is a content & sales calendar?” Seeing your different promotions outlined on a calendar will help you keep track of what you are offering and when. Especially as you might (and should) run multiple sales leading up to Black Friday. For example, you might do a huge sales push the week before, or offer several pre-sales in the weeks leading up—or both!

Here is a suggested timeline:

  • By November 1st – Create your promotions in your dashboard so that you can switch them on when the time comes.
  • Early November –  Include hints in your social content about upcoming sales and promos. 
  • Mid November – Build excitement & anticipation with pre-sale benefits (like giveaways). 
  • The week before – run mini sales leading up to Black Friday to catch the early bird shoppers.
    • TIP – Run different promo types leading up to Black Friday, such as free shipping in the days leading up and then switch to percentage discounts for your day-of sales.
  • Black Friday – Announce your sale on socials! Offer a percentage discount promo (i.e. 15% off) through Cyber Monday to maximize sales. See how other creators do it here. 
  • December 1st onwards – Start offering digital products as there are no logistics or  shipping deadlines to worry about.

Here’s a free content schedule template you can use for November through the holidays.

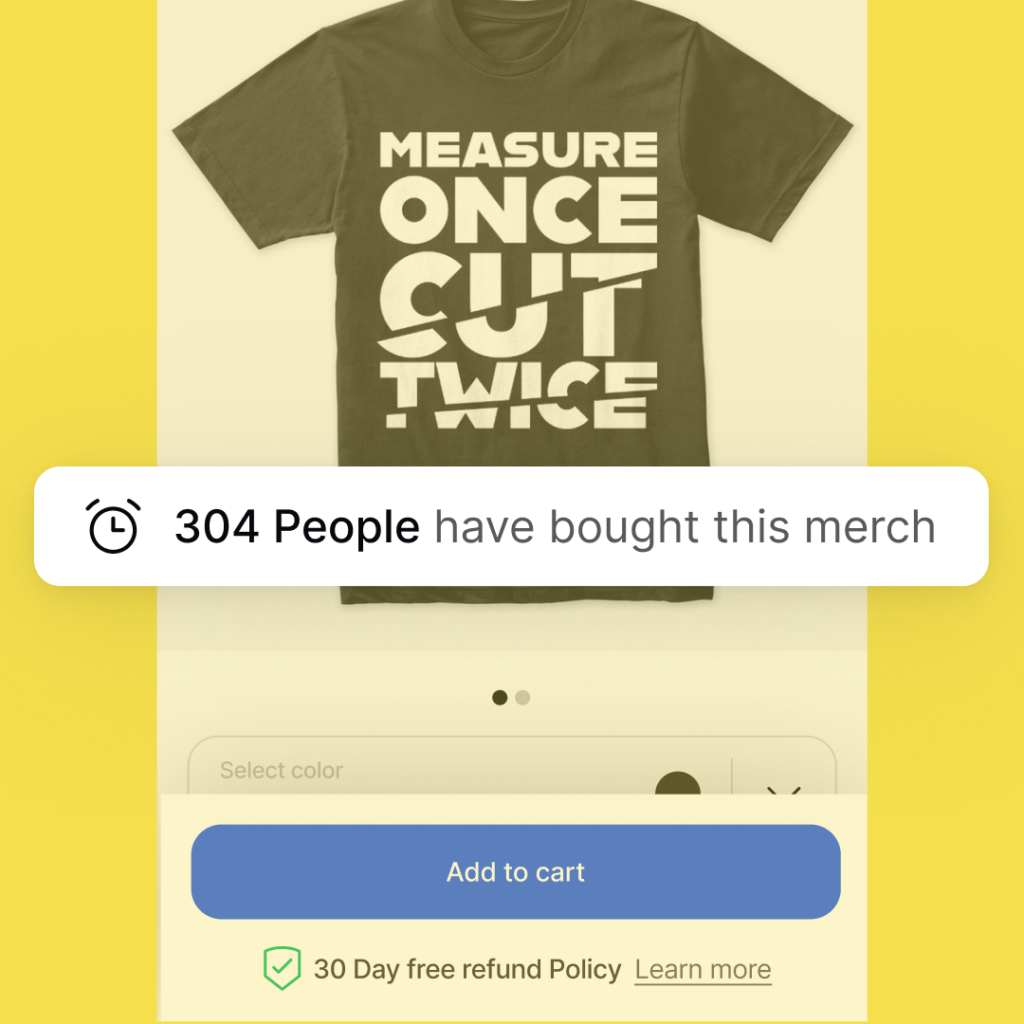
DID YOU KNOW THAT FANS WHO VISIT A STORE OFF A PROMO CODE LINK ARE 25% MORE LIKELY TO PURCHASE?

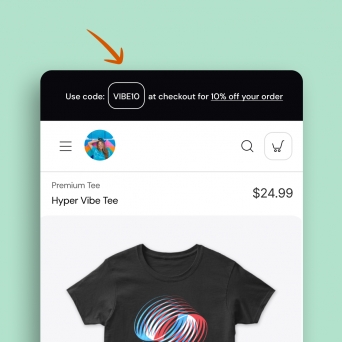
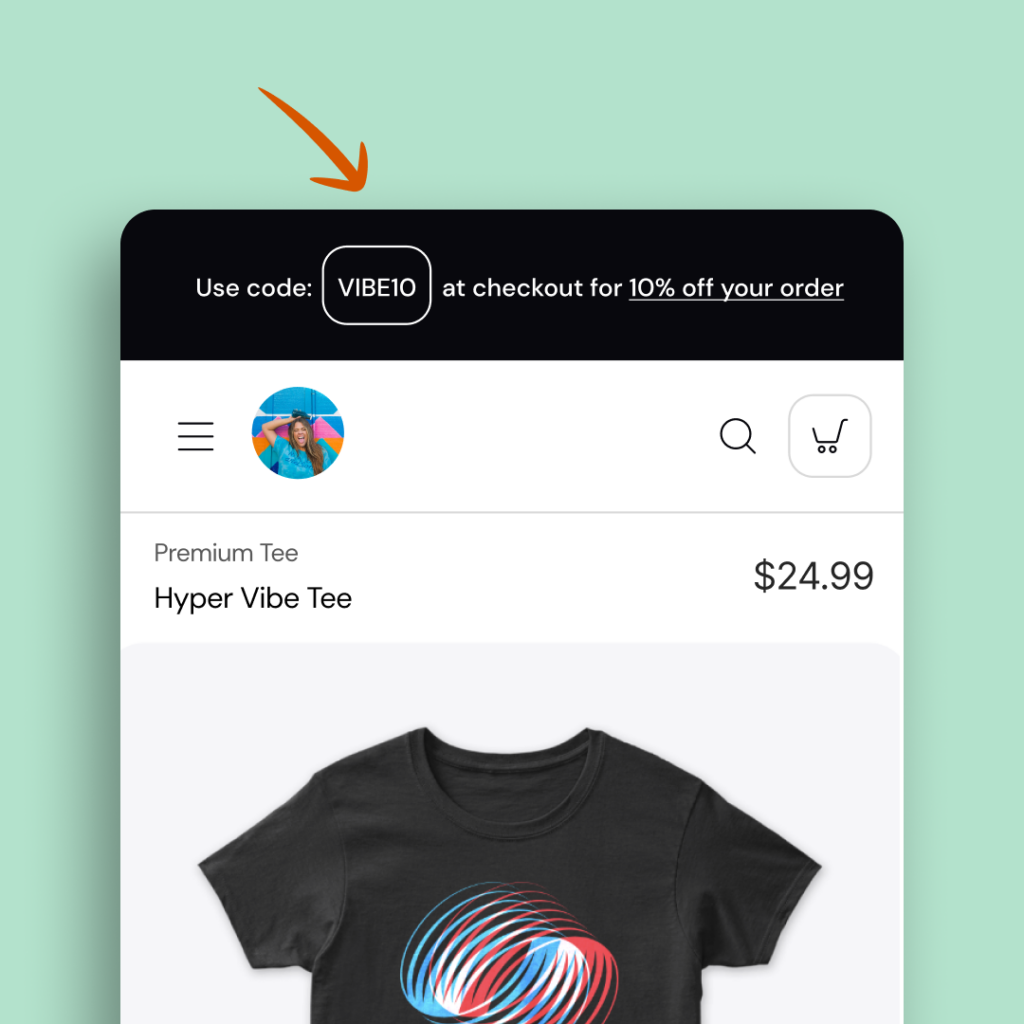
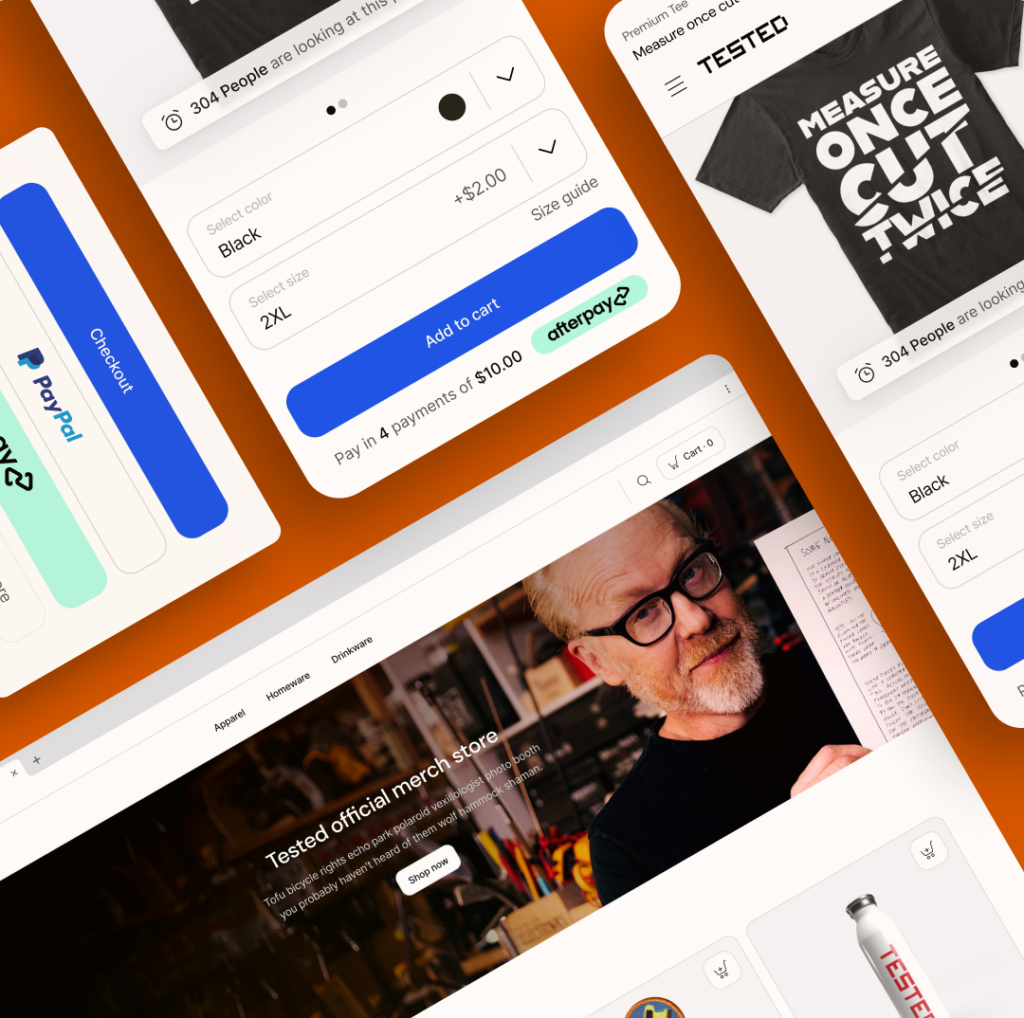
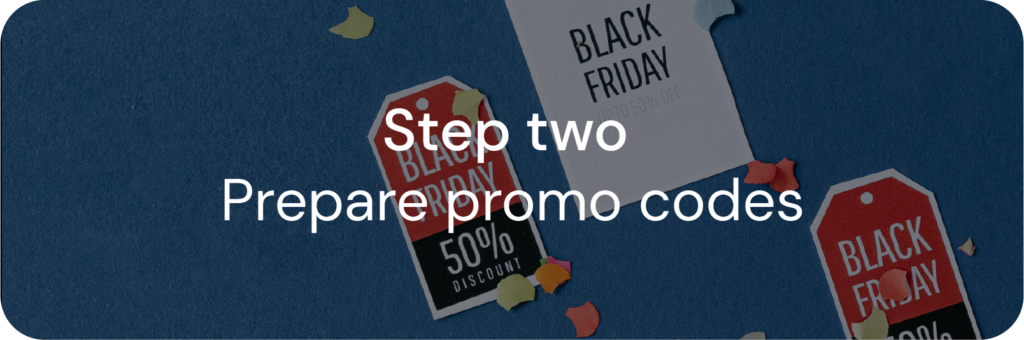
It’s an opportunity you can’t afford to pass up. When you choose to promote your products on social media, it’s good to have a promo code. As we said earlier, these can be planned in advance and switched on when you’re ready. Make sure to have different promo codes for different times – it helps with tracking, what is working, etc.

Don’t fret—making promo codes is super easy! You can create them within the Promotions section of your dashboard. Line up your promo codes in advance and follow your calendar as to when they will activate. Find out more about creating promotions here.

Promo codes can be applied to all of your products. Reminder: You’ll need to ensure there’s enough profit margin to support the promo—no matter what product is being purchased, so do that math ahead of time.

Why does your social content need to include your sales and promotions? It turns a fan into a shopper then into a customer. And there are a few proven tactics to maximize fans’ attention:

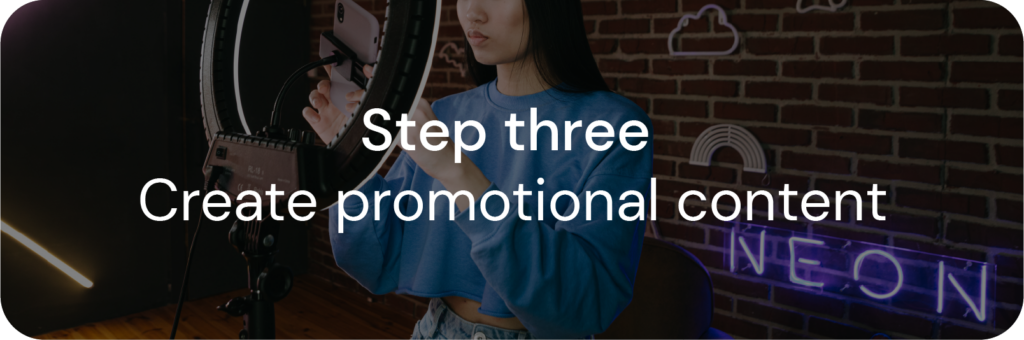
  • Create effective promotional content. Canva is a great tool for creating eye-catching images on social media. Choose from hundreds of templates—just don’t forget to include the promo code, the dates your sale will run, and the discount type. You can also sign up with 20% off using Spring’s partnership with Placeit to create sale announcements
  • Feature samples. Crazy Stat Time! Creators who show off samples in promotional content earn as much as 200% more profit from their products! That’s a no brainer. Tag @springforcreators and use the hashtag #CreateShareEarn for the chance to be featured on Spring’s socials. 
  • Use integrations. Make sure fans can easily find your store. Pair social content with a link straight to your listing. Use the YouTube Integration, which shows your products underneath the videos, or set up the Instagram Shopping Integration to tag your products in posts. For an easy start, Sprint’s Linktree Integration is available to all creators.

It’s time to stop reading and start promoting. Your Holiday Customers are waiting! As always, hit us up with any questions at creatorhelp@spri.ng. We’re here for you:-)

Categories
Insights

Embroidery style guide: selling hats

The Hat Studio is Spring’s new instant, on-demand hat launcher powered by Printful where you’ll be able to create your own hat design directly. Spring offers several high-quality embroidered hats for creators; trucker hats, snapback hats, dad hats, and beanies. Each hat is made to order.

Here’s what we’ll cover in this guide. Ensure you read each section carefully before submitting your design file to reduce the risk of your submission being rejected.

  • Thread colors
  • Embroidery basics
  • File formatting
  • Design tips—do’s and don’ts
  • Other must-follow guidelines

Thread colors

Choose from up to six colors below. Simple, bold designs work best for embroidery. Avoid small details, thin lines or complicated artwork effects (e.g. distressing or drop shadows). These will not embroider well. 

Embroidery basics

  1. Flat embroidery: A technique where stitches are embroidered flat on the surface.
  2. Tatami fill: Rows of run stitches. Used to fill large areas.
  3. Run stitch: A single line stitch. Used for small design details.

File formatting 

If submitting your design using a template, you will need to create your own hat designs using software like Adobe Illustrator (vectorized .eps or .PNG with a transparent background). Designs submitted that do not meet design file requirements will be rejected. 

Download the hat design templates to ensure your design is formatted correctly and features available thread color options. Find the embroidery guide and learn about each type of hat below.

Design tips

Hat designs are more complex than other garments in the launcher. This is because designs are stitched (not printed). It’s important to understand what designs do and don’t work to avoid your design being rejected. See requirements below.

  • We highly recommend submitting your embroidery graphics as vector files (PDF). Raster graphics (PNG) can be used as well if the resolution of the graphic is at least 300 DPI
  • Design dimensions should be to scale as it will appear on the product
  • Don’t include photographic images, gradients, fade or blend effects. Elements like these cannot be embroidered
  • No transparencies or effects such as glow or drop shadows
  • Use no more than 6 colors 

See below minimum sizing requirements for your embroidery designs:

  • Letters: no smaller than 18 pts/ 6.35mm 
  • Line thickness: no thinner than 4 pts / 1.411mm
  • Design elements: no smaller than 9 pts / 3.175mm
  • Spacing between elements of your design: no smaller than 14.175 pts / 5mm

Here’s a few examples of do’s and don’ts for your embroidered hat designs.

Other must-follow guidelines

Use transparent backgrounds
Graphics should include transparent backgrounds. Elements outside the main design will be picked up and result in unwanted embroidery stitches on the end product.

Convert your fonts to outline
All fonts should be converted to outlines unless your graphic is in PNG format. That way you don’t have to send us the font files.

Stay within the maximum stitch count
If your graphic covers a very large part of the embroidery area, it may exceed the maximum limit of 15,000 stitches. In such case, your order will be put on hold.

Remove embroidery file template guidelines
If you use our downloadable templates, delete the guide layers before saving your files. If you don’t delete them, they’ll be embroidered.

Order samples
The best way to make sure your embroidery design looks the way you want is to order a sample of your work. We also recommend ordering an embroidery sample to learn about our techniques and stitch types.

Remember the back design option
You can embroider a small design (e.g. your brand logo) on the back of the hat. The design will be embroidered in flat embroidery.

Create embroidery-unique designs
Embroidery is not printing, so most graphics that work on other products won’t be suitable for embroidery.

Finally, when in doubt keep it simple
Clean designs with bold lines and text work best for embroidery. If your design is too complex (e.g. contains gradients or intricate details), your order will be put on hold.

Categories
Creators

Spring Updates: Promo codes, quick add to cart, and more

Promo code banner

We’ve rolled out a new feature that will make active promo codes visible to all fans viewing your products.

No worries, you will be able to turn the banner on or off in the Promotions tab of your dashboard.

Manage your promo banner

Stores UI/UX

You will notice an updated look and feel to the store experience across mobile and desktop. These updates are already showing improved conversion rate results.

Share your updated store

Fan validation

Whenever you drive traffic to a listing or make a bunch of sales, a cool widget will appear calling the increase in engagement. This will drive FOMO within your community and further boost sales.

Share your updated store

Quick add to cart

Our most recent update to Stores is the Quick-Add-to-Cart feature. This is driving a 20% increase in products being added to cart for creators.

Share your updated store

Recommended products shelf

This new product shelf encourages fans to buy something else when adding a product to the their cart. Just another way we are helping you drive more sales on the Spring platform.