Categories
Creator success Holiday Season

Get Your Store Holiday Ready

When fans visit your Spring store, the way it looks can determine whether or not you close a sale. 

In fact, 82% of consumers are less likely to make a purchase if a store appears dated. Additionally, the average person has abandoned 24 online purchases this year because an online store looked unprofessional.

So with the holidays around the corner, you need to prepare your store for increased traffic.

Since you only have one chance to make a first impression, follow our 5 simple steps below to maximize your holiday success this season! 

1. Customize your logo, navigation bar, and footer 

To add a logo to your store, click on Stores, Edit Store. On the left-hand side, click on the Navigation bar

Adding a personalized logo to your navigation bar sets your store apart. A logo is an important way to brand your store because it helps your buyers identify and remember you. 

If you already have a logo, and want to add a festive flare, you could tweak it to feature a Christmas font or add some snowflakes, for example. If you don’t have a logo, this is the perfect time to create one! Read how here

Beyond dropping in a logo, you can also change your navigation bar’s background and text color. 

Switching them to holiday colors might be fun and exactly what your store needs to look trendy, but keep in mind that you have a brand image to uphold. So whatever changes you make to the navigation bar and footer should be consistent with your brand.

You’ll also want to re-brand your footer to match. Use a consistent design with what you’ve used elsewhere. Staying on brand in your footer and nav bar is a huge plus to the aesthetic of your store. 

2. Update your hero banner

Your store’s hero banner is the first thing that pops out at a visitor. It’s one of your most important visual aspects of your store. And first impressions happen quick. It only takes 50 milliseconds to form an opinion of a website and 75% of consumers judge a store’s credibility based on it’s design. 

So having an eye-catching, well designed banner can have a huge impact on your sales. 

To update your banner, click on Hero banner in your store editor. There you can drop in your image. 

For a trendy seasonal banner that stays true to your brand, try giving it a winter color palette.

Adding a holiday touch to your banner signals that your store is up-to-date with the season, but it’s not mandatory, especially if it doesn’t align with your brand. A well-designed banner alone can boost your credibility with shoppers and increase sales.

Consider spicing it up by incorporating festive photos of yourself or your customers. If you’re short on time or resources for photoshoots, no worries! Tools like PlaceIt make it easy to create eye-catching lifestyle mockups. Just upload your design file, and you’re good to go.

If you’d rather have a professional touch, you can hire a designer to create a store banner for you here: https://affinityx.creator-spring.com.

3. Reorganize your products 

Products featured within storefronts get 58% more views and sell 20% more on average. So you want to place your best sellers and holiday favorites upfront and center. 

So how do you reorganize your products? Follow these steps: 

  1. Go to your Store editor
  2. Click on Products
  3. Click on the star icon to feature products

Featured products will appear at the top of your store and there’s no limit to how many you can feature.

Another way you can reorder your products is by removing your products from your store (clicking on the circled x) and then re-adding them based on the order you want them to appear. 

New products get added to the bottom of your store, so add the ones you want at the top of your store first! 

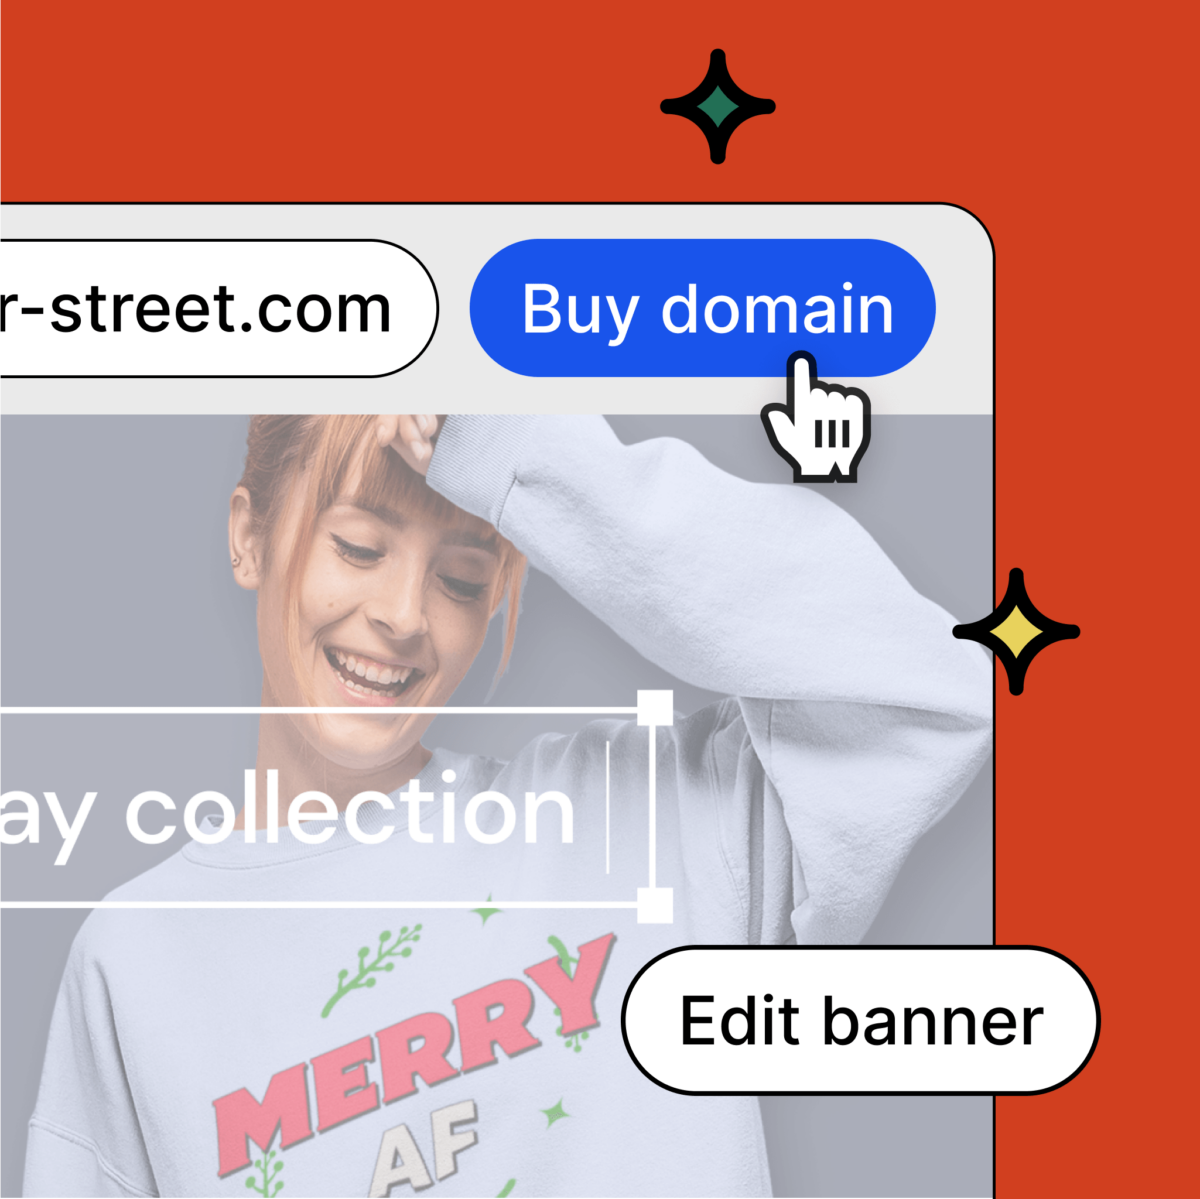
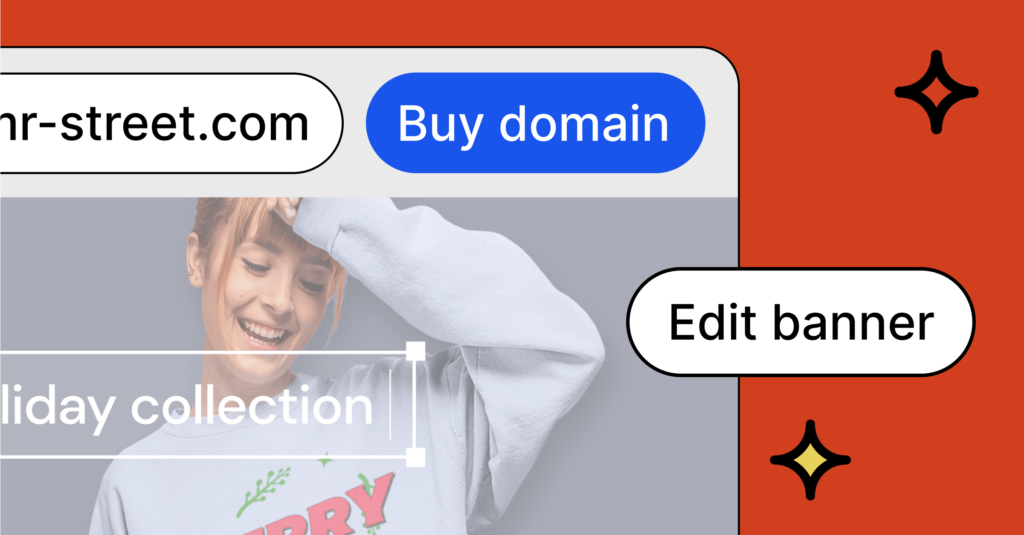
4. Connect or purchase a domain

A rock-solid domain is key to the success of your store. 

What is a domain, why does it matter, and how do you connect or purchase one? 

Simply put, a domain is the name of a site. A good domain name helps visitors find your site easily and allows search engines like Google to know what your site or brand is about. A REALLY good domain name is short, easy to remember, and describes your brand. 

Choosing a great domain name is vital because it can attract more visitors to your site, which of course increases your chances of selling more merch. 

If you want to know how to connect or buy a domain, we’ve got that covered, too. 

5. Add your social profiles

50% of consumers are disappointed when a brand they want to shop with has no social media presence. So it’s important to show off your socials on your store!

To do this, just go to Stores and scroll down to Social Profiles. There you’ll be able to connect all of your social media accounts.

Once connected, you can enable “Display Links” in your store editor under the navigation bar and footer. 

If both are enabled, your social icons will then appear on the right-hand side of your navigation bar, as well as in the center of your footer. 

And that’s it!

When your store is branded for the holiday season, you’re setting yourself up for maximum success! Happy Holidays and Happy merch sales!

Categories
Creator success Integrations

Spring x TikTok Early Release: Be the First to Join

Our new TikTok integration will allow you to turn your TikTok videos into a profitable storefront. 

Soon, you’ll be able to have your Spring merch on full display in your TikTok storefront, videos, and live streams. This integration is your golden ticket to transform your TikTok content and audience into a revenue powerhouse.

The best part? It’s completely free!

Click here to join the waitlist for exclusive early access to integrate your store, or keep reading to learn more about what’s to come!

Why TikTok is your perfect sales playground

TikTok users are 1.5 times more likely to make an impulse purchase when they spot something they like on the platform. So, if you toss your Spring products into the mix and make the shopping experience smooth as butter, you’re set to make it rain! ☔💰

And guess what? Sales are all but guaranteed. 

According to TikTok, 35% of users have snapped up items they’ve discovered on the app – meaning there’s a sea of potential customers just waiting to hit that ‘buy’ button!

These facts are just the tip of the iceberg, underlining why TikTok is the go-to platform for creators aiming to create an additional revenue stream. With our TikTok integration, you’re perfectly positioned to turn your content into a money-making machine like never before!

So, without further ado, let’s get into the nitty-gritty of what our integration has in store. 

The lowdown on our TikTok integration

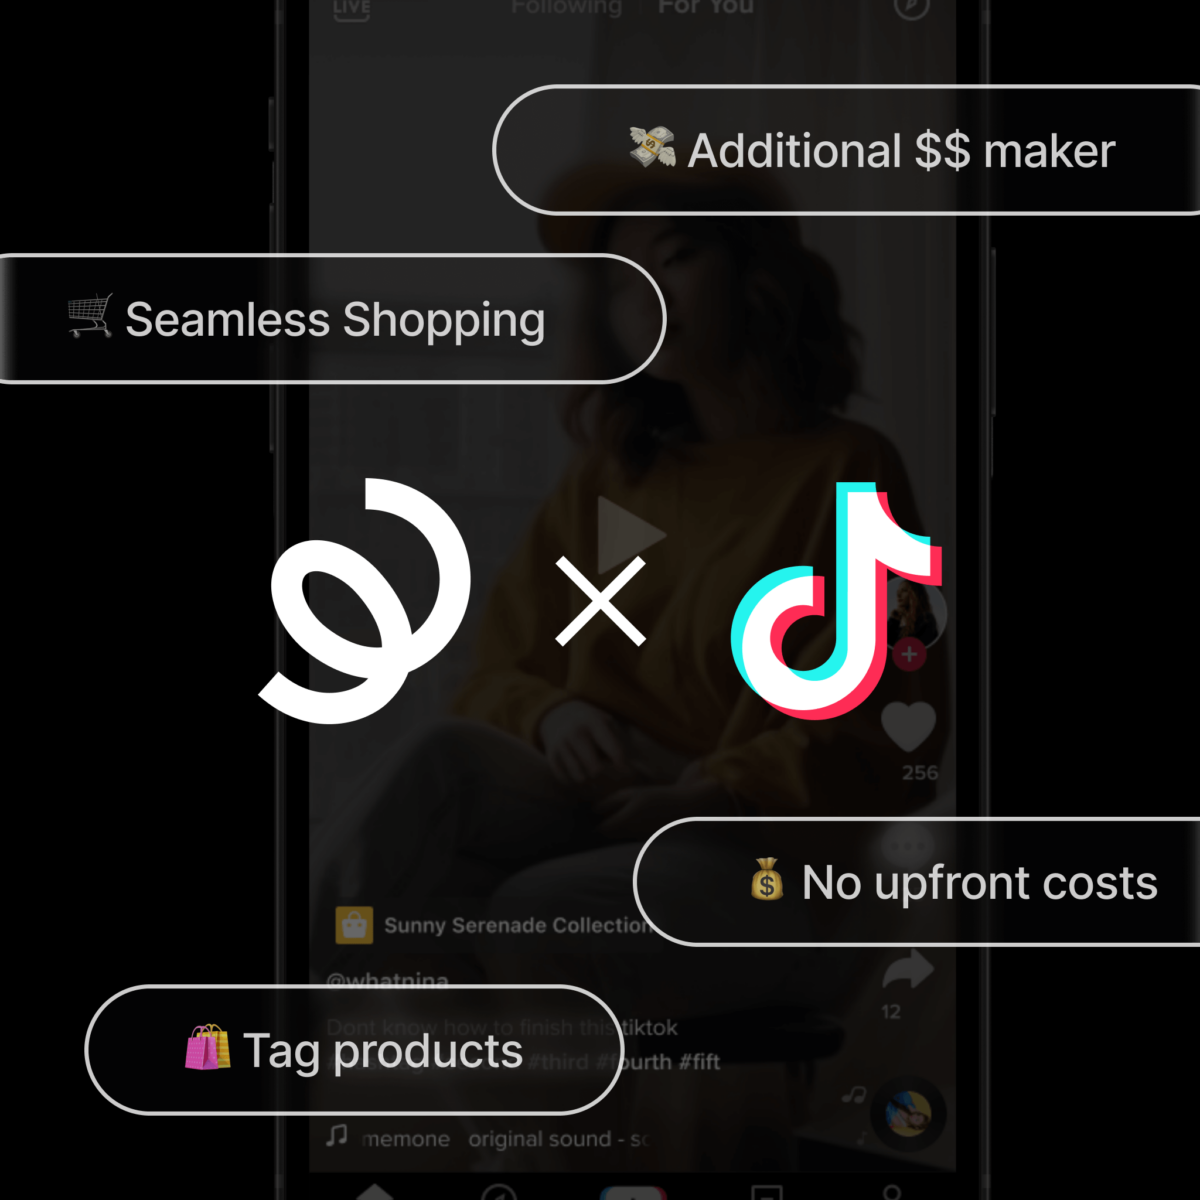
Spring’s TikTok integration will allow you to transform your TikTok videos into a profitable storefront, making selling products on the popular app easier than ever.

Once the integration goes live, you’ll be in for these key highlights:

💵 A New Way to Make $$

Spring’s TikTok integration opens up the door for effortless, in-app product sales. 

No more sending fans to your bio link – now you can directly showcase and sell your merchandise in your videos, profile storefront, and live streams. This will make it easier for fans to shop and increase their chances of hitting that ‘buy’ button, sending more money to your pocket. 

🛍️ Turn Fans into Shoppers

If you’ve got a TikTok fanbase, it’s your secret weapon for selling. You’ve already nurtured a bond with your followers through your amazing content, and that connection can translate into sales! 

Now, with our integration, it’s easier than ever for your fans to spot your products and make a quick, in-app purchase. 💥🤑📲

💰 No Upfront Costs

Create and sell your own branded products without spending a dime upfront. If a product doesn’t hit the mark, your pockets stay unscathed. 

🛒 Create a Seamless Shopping Experience

Treat your fans to an ultra-smooth shopping experience. With our TikTok integration, your fans will stay right within the app, seamlessly transitioning from discovering your products to hitting that buy button. It’s shopping made easy, right from their mobile screens! 

🛠️ We Handle the Boring Stuff

Leave the tech wizardry to us. We’ve got your back from TikTok setup to payments, shipping, and inventory management. You keep creating content, and we’ll take care of the rest. 

Where you can sell

With Spring’s TikTok integration, you’ll have the power to sell your Spring products in three exciting spaces: your storefront, videos, and live streams.

Let’s dive into the deets for each!  

#1 Your profile storefront

With the Spring TikTok integration, fans can snag your Spring products right from your profile. It’s like having your own shop right on TikTok.

This view makes it easy for your fans to browse your curated products and grab what they love in just a few taps.

It’s a smooth and seamless shopping journey, from discovering the products to hitting that ‘buy’ button.

#2 In-feed videos

Make shopping part of your epic content. Just tag any products you have featured in your vids to grab those sales and make it easy for fans to shop.

Fans can click on your product link, view more product info, and checkout without leaving TikTok. 

#3 Live streams

Showcase your Spring products in your live streams to ignite your audience’s curiosity and excitement. 

Your fans can actively participate in the shopping experience by using the chat to ask questions or share comments about your products. 

Going live offers a fantastic chance to interact with your fans in real time, creating meaningful connections between your audience and your branded merchandise. It’s the perfect recipe for building a stronger, more engaged community around your products.

Join the waitlist now to be one of the first to reel in those TikTok sales

We’re encouraging all creators 18 years or older residing in the US to join our waitlist! Those on the waitlist will be first in line to transform their TikTok videos into a profitable storefront. 💃🕺

Join the waitlist here: https://share.hsforms.com/1_ZLckH5nSI22Rv8c79CbRge19c5

We’re excited to see how this FREE, new integration will help creators like you monetize their content and diversify their revenue streams! 

If you have any questions, please feel free to reach out to us at creatorhelp@spri.ng.

Categories
Creator success

How to use Youtube Shorts to drive merch sales

Whether you’re a YouTube expert or complete novice, we’re here to cover the ins and outs of YouTube shorts. Because if you aren’t using them, you’re missing out on a great opportunity. So let’s dive in. 

First, what are YouTube Shorts? 

YouTube Shorts are 60-second or less vertical videos that you shoot and upload from your phone. Yep, it’s that easy. There’s no limit to what you can create and no fancy equipment required. Your phone goes with you everywhere, right? So why not use it to make some money! Plus, YouTube has a special Shorts tab on the homepage where users can binge on Shorts. 

What’s really great about Shorts, though, is your ability to tag products in your video. But before we get into tagging, a couple things to cover…

How can I best use Shorts to market my Store?

The best method is to use Shorts is in addition to your main YT channel. Adding Shorts will offer your audience different content in an exciting, new format. This can be a change of brand positioning, tone, or fresh types of content you haven’t done before. Here are some suggestions on using YouTube shorts in the most effective way:

  • BTS (Behind the scenes) clips: Post Shorts that show your viewers your process. Show them how things happen when cameras aren’t rolling (even though they are lol). 
  • Design instruction. YT Shorts is the perfect medium for giving tutorials. Give quick, informational tidbits on how you create designs.
  • Product promotion. YT Shorts are the perfect channel for organic product promotion and a great way to introduce new products to your viewers.
  • News updates. Keep your audience up to date on promotions, news, or big things happening with your brand or on your channel!
  • Highlight reels. A great way, with very little work, to recycle your content and drive engagement. 
  • Viral clips. Take your most awkward, funniest, and catchiest clips or bloopers and give them a chance to go viral in a viewer-friendly format.

3 Tips for Filming YouTube Shorts

Ok, you’ve got some ideas on how to use Shorts. Great! But now what do you do? There’s no wrong path, but whatever direction you decide to go, here are 3 quick tips for maximizing engagement: 

  1. Keep it simple. To the point, informal, and informative——YouTube recommends 15 seconds. You only have your audience’s attention for a limited time, so why not make the most of it! Then you can string together up to 4 15-second Shorts into one longer Short.
  2. Start strong. Your videos must begin with an attention-grabbing opening sequence or line of dialogue. The competition for attention out there is fierce, so grab the audience from the get-go if you want their eyeballs.
  3. High production-value thumbnails. Thumbnails are what the audience sees first. Marketers spend hours or even days researching and crafting headlines because they know that’s the one chance to grab someone’s attention. Put some serious thought and effort into your thumbnails and make the most of them.

Follow these tips and make sure you’re maximizing the return on your efforts. You get back what you put in – audience engagement, channel growth, and merch sales await! And now to reward your patience, let’s get into tagging. 

What is YouTube Merch Tagging, and what are the benefits & eligibility requirements? 

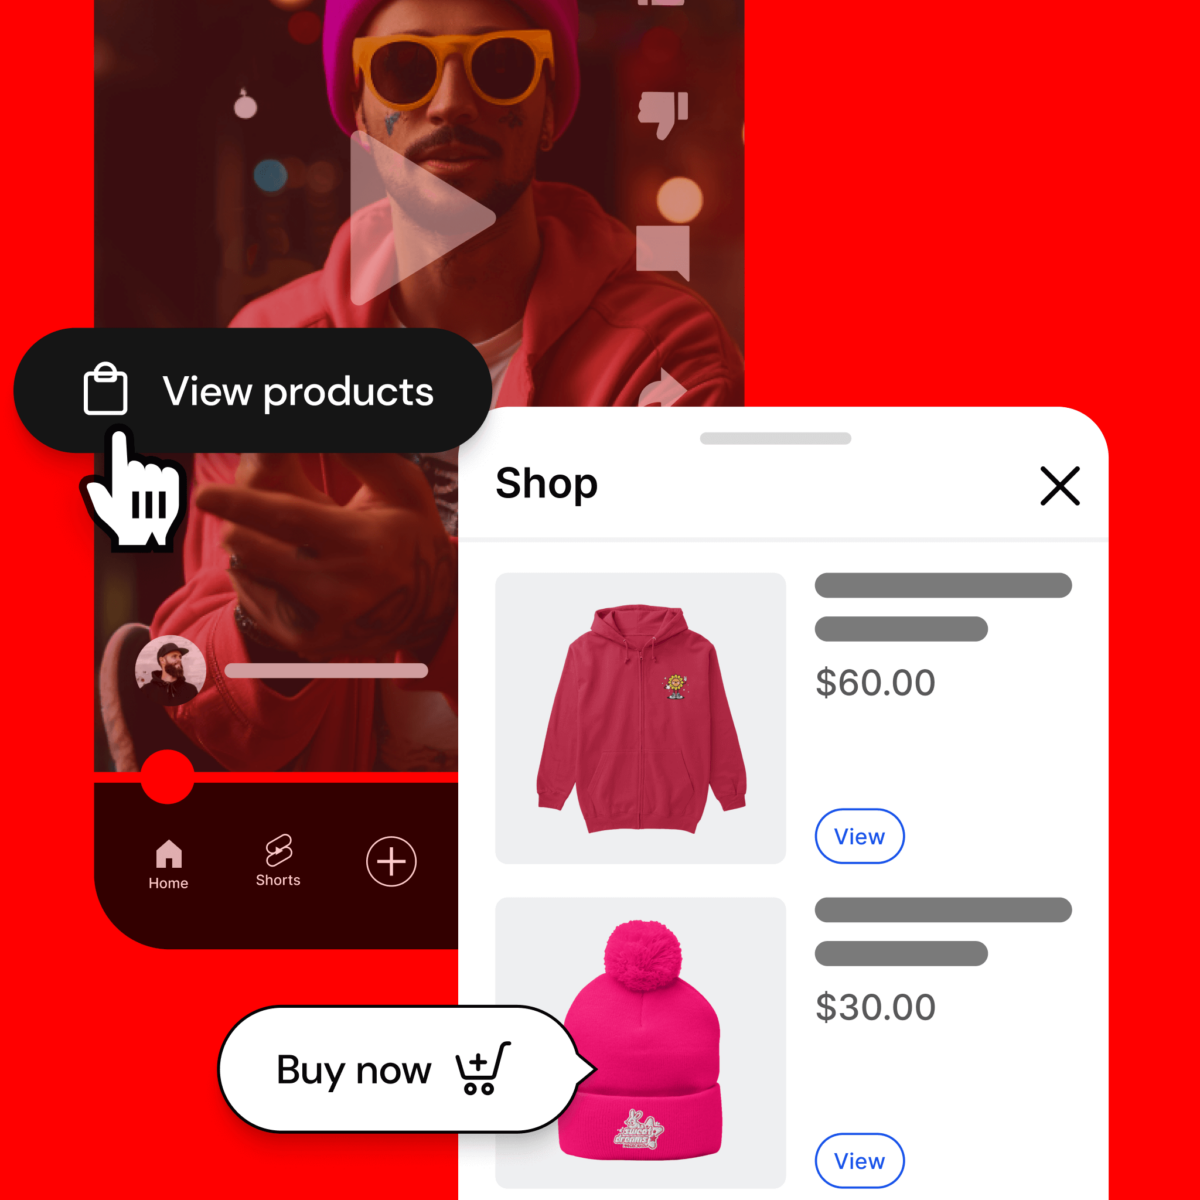
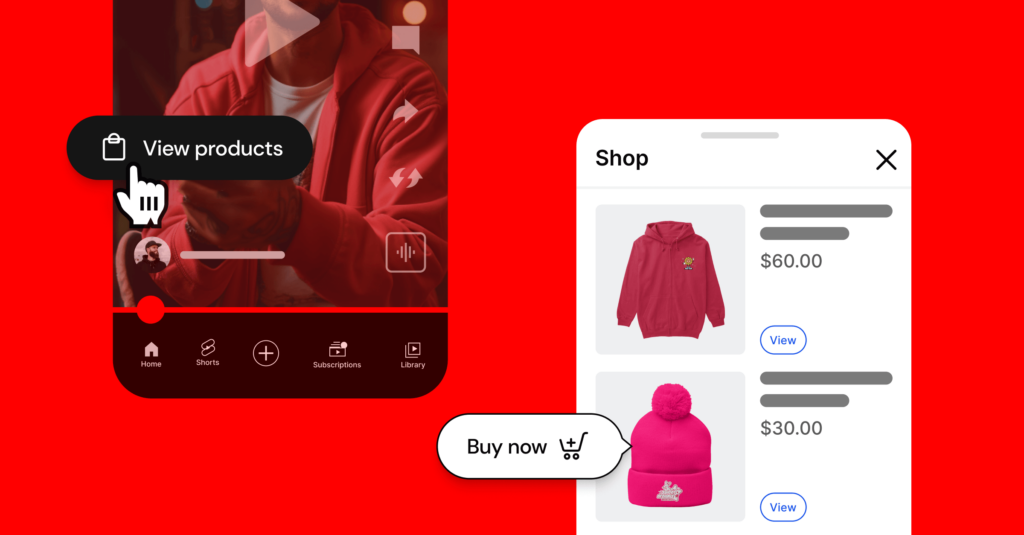
Let’s say you have a couple products that you’d like to promote. You can select them from your store when you upload your video. Viewers will see a “View Products” label show up in the bottom-left corner of the screen. This process is called “tagging.” 

We’ll get to how you do that below, but first: What are the benefits of doing this? Tagging products allows fans to shop merch while they watch. Also, you can select which products will appear on your merch shelf just below the video, thus boosting visibility.

Not everyone is eligible for monetization. If you have questions on who is eligible for monetization, click on the link. Now, finally…the how.

How to set up YouTube Merch Tagging

If you’re eligible, follow these steps to tag products to a video:

  1. Go to Youtube Studio
  2. Click on Content
  3. Select the video you want to edit
  4. Go to “Products”
  5. Click “All Stores”
  6. Select your Spring store under “Connected Stores”
  7. Tag products in your video

If you’d like a little more info, click here.

And there it is. YouTube Shorts + Merch tagging = $$. Happy Selling!

Categories
Creator success Holiday Season

The Ultimate Ugly Christmas Sweater Guide For 2023

The popularity of ugly sweaters is skyrocketing, with people donning them at Christmas parties, office shindigs, family get-togethers, holiday parades, and more. They’ve even earned a special day on the calendar—National Ugly Sweater Day, every third Friday of December in the U.S.

And with one in three people snagging an ugly Christmas sweater each year, the demand is undeniable. That’s why it’s essential to add these festive fashion statements to your Spring store and ride this trend to success.

Keep reading to uncover the top-selling designs, the right products to use, and even get your hands on free ugly sweater templates. ‘Tis the season to cash in on the holiday spirit!

Designing your ugly sweater

The right ugly sweater design can be a sales bonanza, potentially bringing in thousands of purchases. Yet, as a creator with a devoted following, you’re not looking to churn out just another run-of-the-mill Christmas tree or snowflake sweater. Your goal is to infuse your brand identity into your design.

Here are some expert tips on crafting an ugly sweater that not only stays true to your brand vibe but also adds a generous dose of epic holiday flair:

On-Brand Theme:

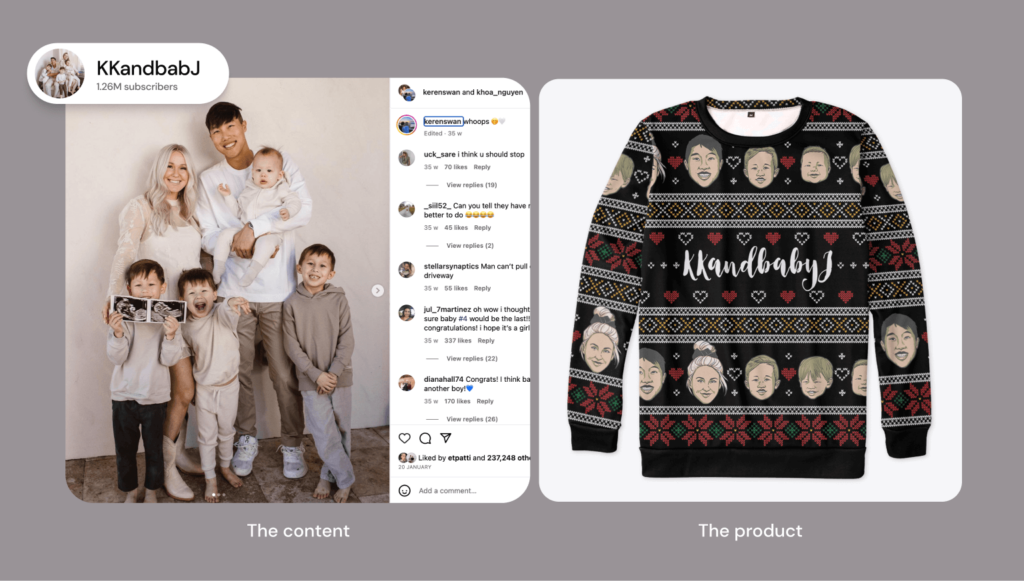
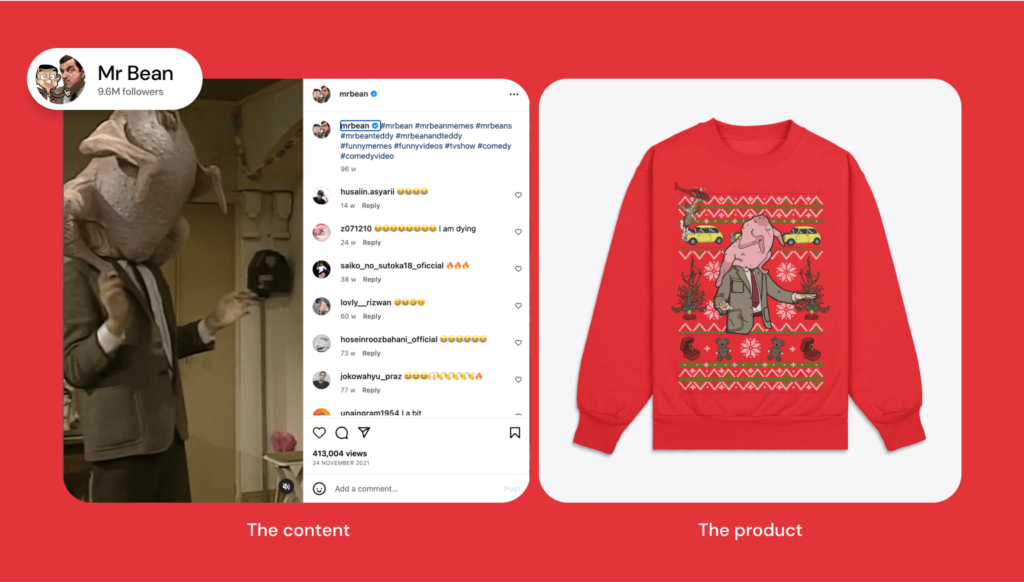
Start by picking a theme that vibes with your brand’s style. Inject your brand’s values, messages, or symbols into the holiday theme to make sure your sweater screams “you.” Take a look at the example below.

Color Palette:

Stick to your brand’s color palette, but don’t shy away from tossing in some festive shades that complement your usual colors. This keeps your sweater on-brand while giving it that holiday pop. You can also add red, green, and blue to your product’s color options.

Use Irregular Patterns:

Ugly sweaters often feature irregular or asymmetrical patterns. Think about including geometric shapes, uneven lines, and random arrangements to achieve that chaotic charm. But even though the overall design may be wild and chaotic (it’s an ugly sweater, after all), make sure the patterns and symbols you use are consistent with your brand’s style. You want folks to instantly recognize your brand.

Playful Brand Messaging:

Inject some of your brand’s personality into the design with cheeky messages or clever wordplay. It’s a way to let your brand shine alongside the holiday theme.

Test It Out:

Before finalizing your masterpiece, post a few variations on social media and get feedback from your peeps. Getting their opinion on the best option will make them feel valued and excited for the launch, and at the same time, it will help you put out a design with the highest chance of success. 

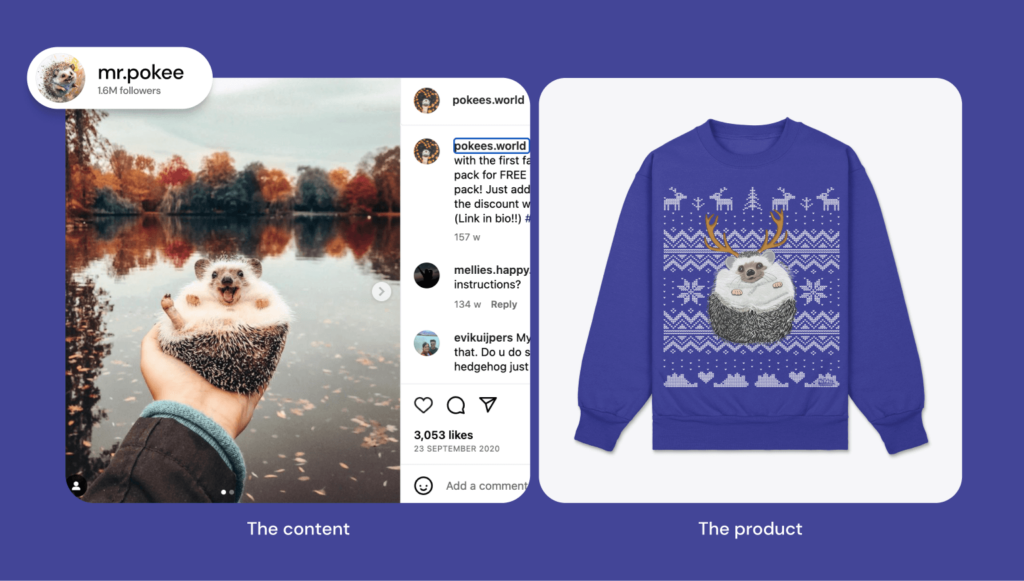
For example, you can ask your followers if they’d wear an ugly sweater with their favorite hedgehog on it like in the image below! If you get positive responses, you’ll have a good chance of selling a lot!

What products to drop your designs on:

Traditionally speaking, ugly Christmas sweaters are sweatershirts with festive and chaotic designs, text, and coloring. But you don’t have to limit yourself to a single product. 

Christmas designs pop on a variety Spring products, and they’re just the boost you need to make this holiday season one for the books!

Check out our top-selling products below and decide which ones you want to drop your ugly sweater design on.

Hoodies

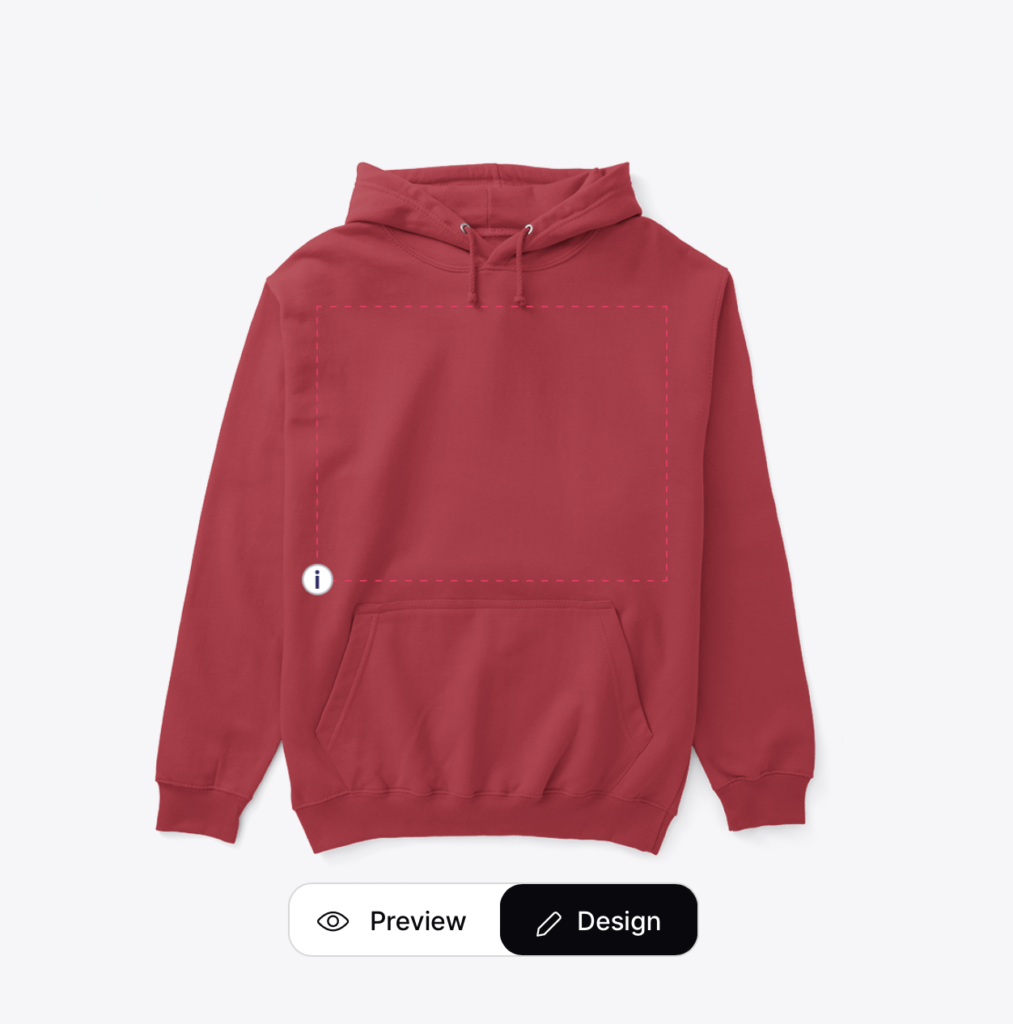
Hoodies sell 20% more between the months of October and Decemeber, so it’s a great product to put your ugly Christmas sweater design on! Check out Spring creator Mike Dice’s hoodie from last year!

Sweatshirts

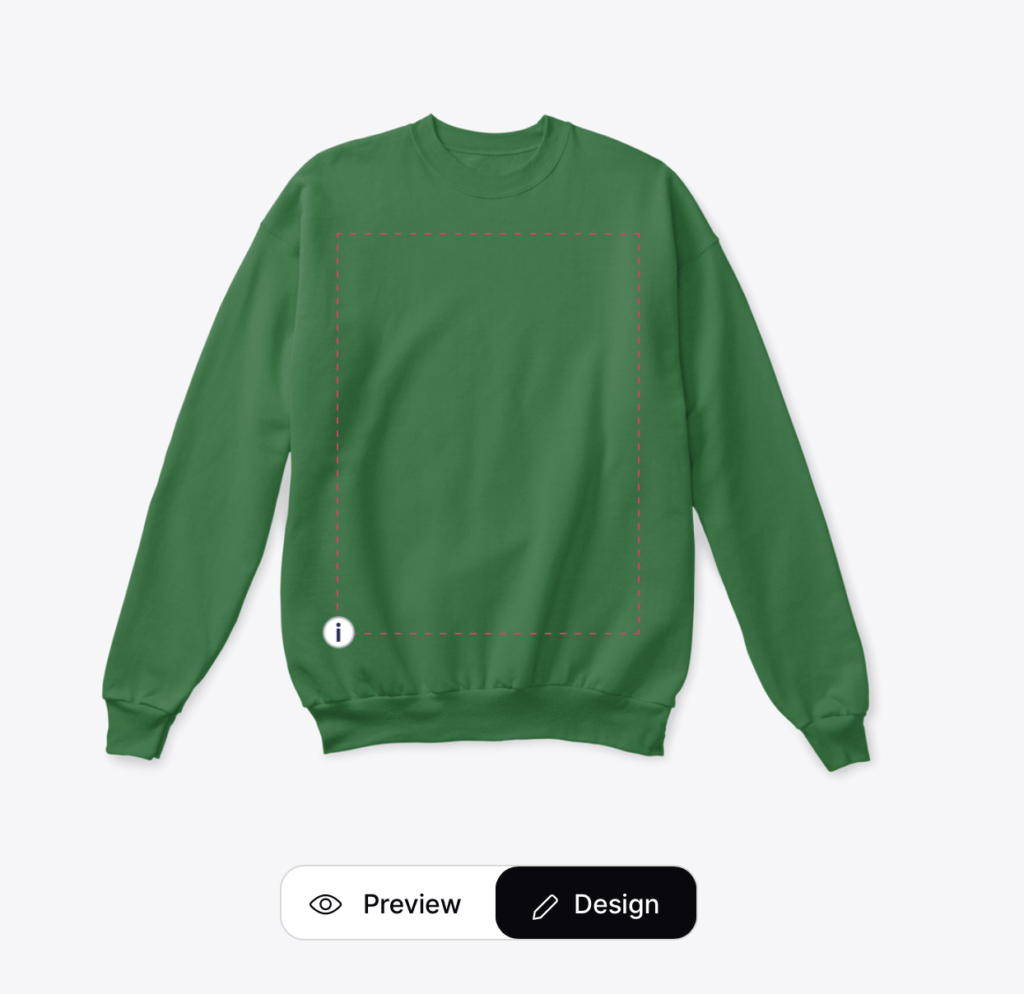
Like hoodies, sweatshirts also see a 20% bump in sales during the holiday season. Spring offers print-all-over sweatshirts that you can use to create the typical ugly sweater look, as well as a more afforable, classic sweatshirt seen in the image below. 

Long sleeves

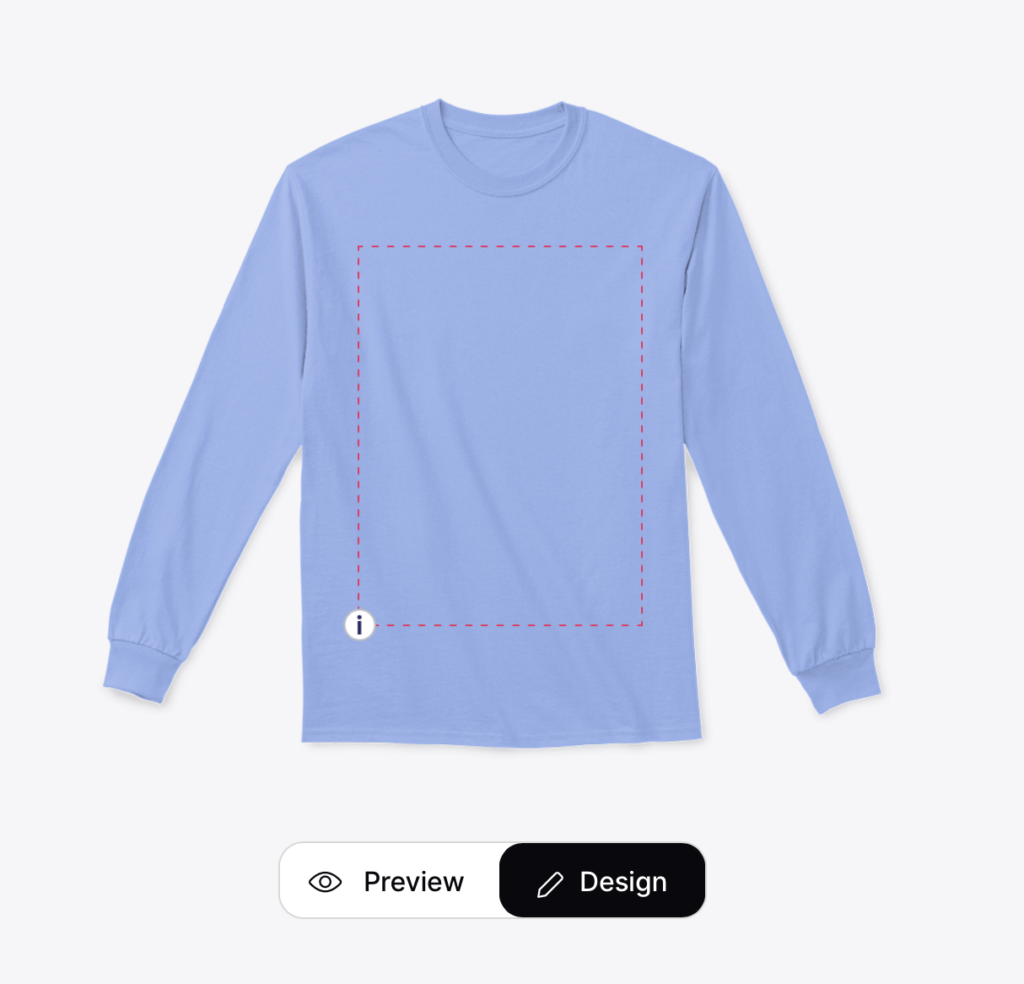
Long sleeves make the perfect canvas for your ugly sweater design – keeping your fans comfy without overheating them at a holiday bash!

Socks

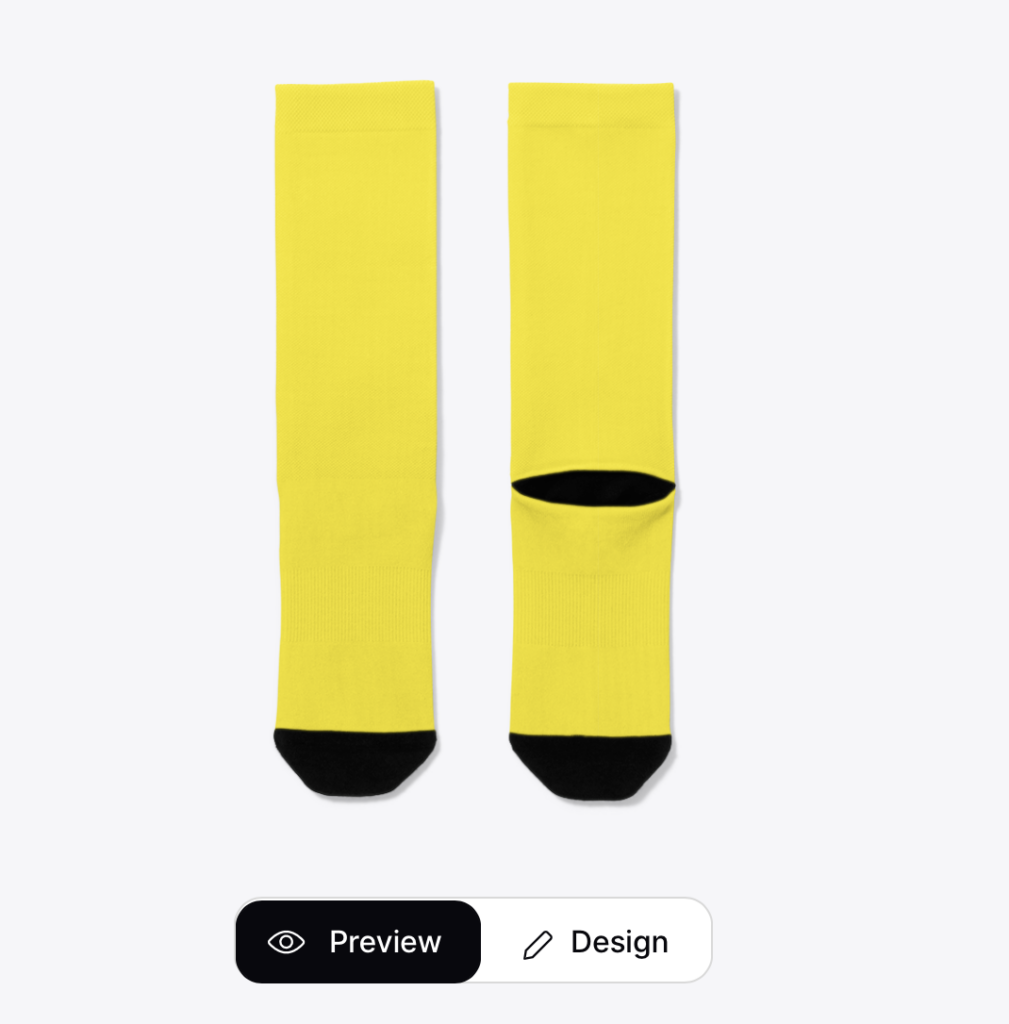
Festive socks are a great alternative for those of us who want to join in on the holiday fun, but don’t want to feel like a walking billboard for Christmas. Add your creative designs to some socks to give your fans the opportunity to celebrate in a subtle, trendy way.

Beanies

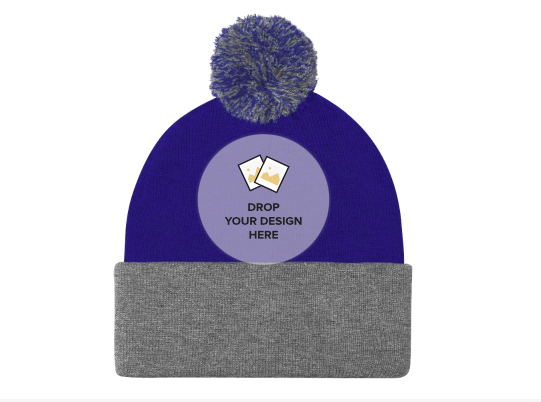
Beanies are a timeless holiday vibe. Beanies, along with our Pom-Pom Knit Caps, can rock a simple holiday design and make an excellent addition to your Spring store during the holiday season. 

Ugly sweater templates and design help options

For more design inspiration, hop over to our Holiday Design Inspo board on Pinterest. It’s a goldmine of fresh ideas to keep your creative juices flowing.

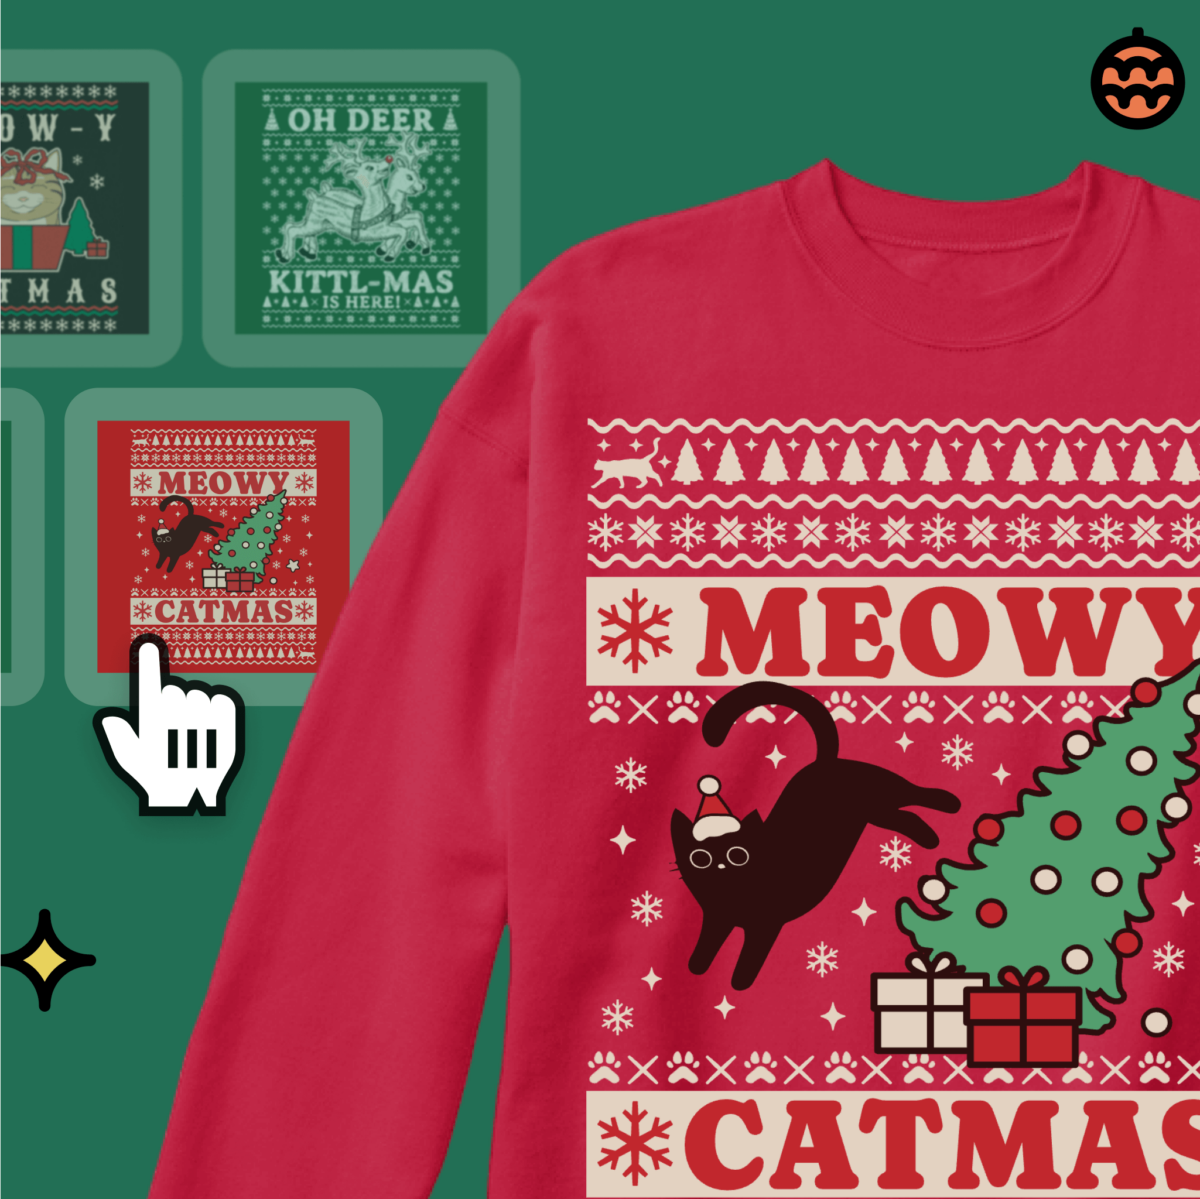
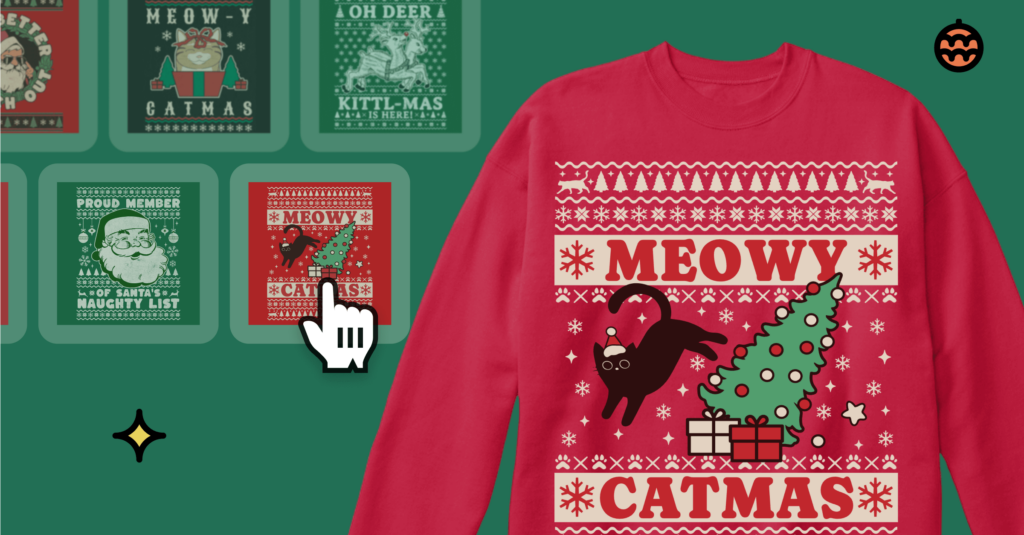
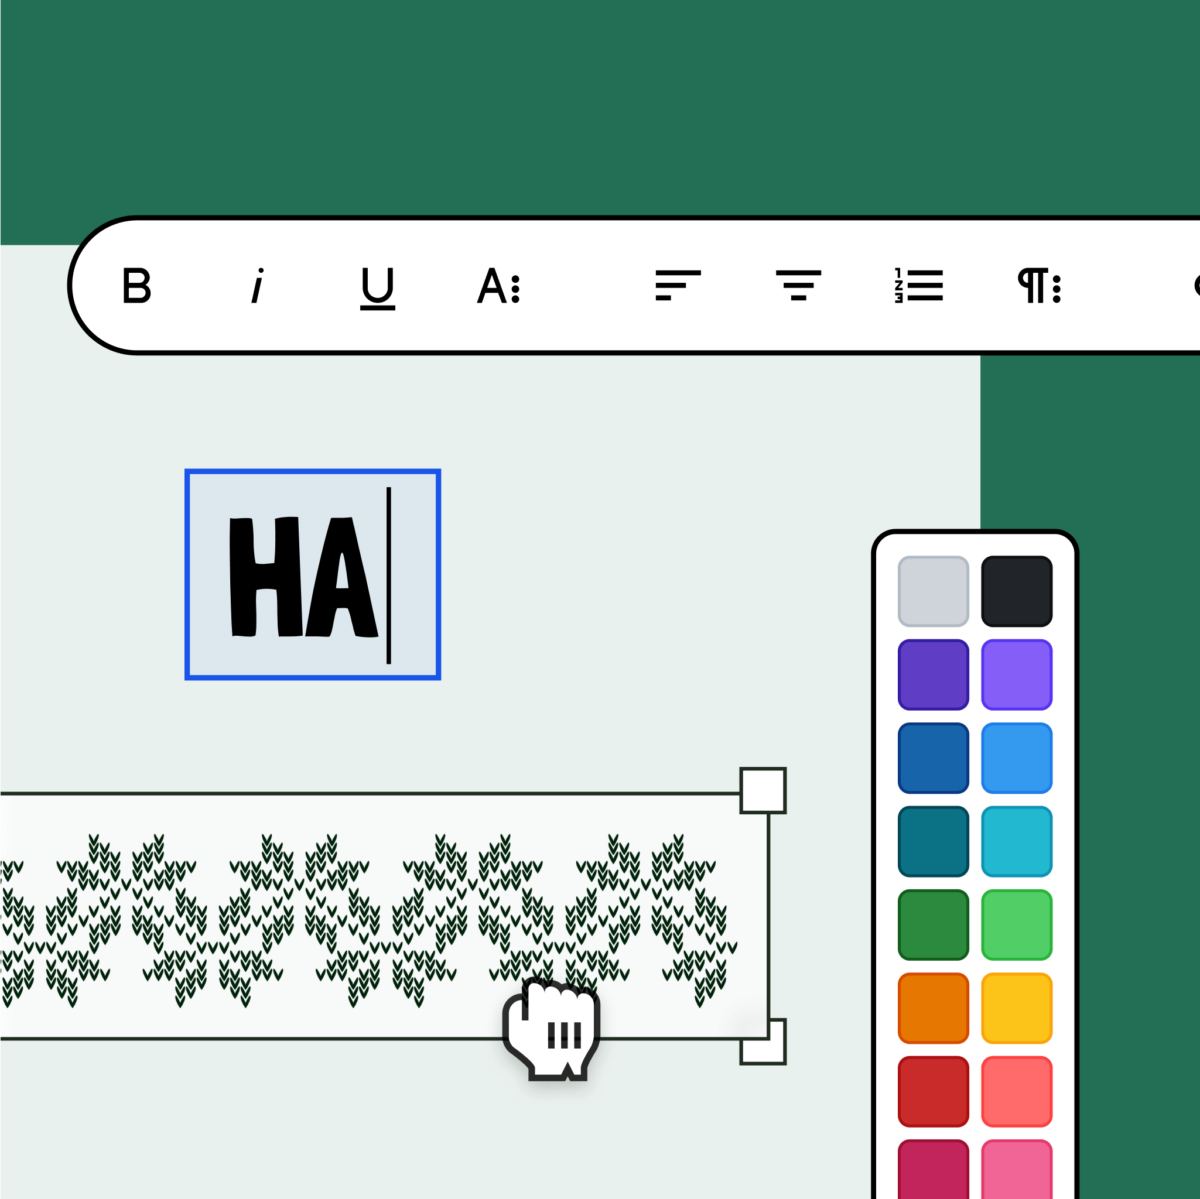
But if these design tips and product suggestions don’t quite kickstart your creativity, we’ve got your back! Explore ugly sweater templates on Kittl, where you can easily tweak them to match your brand and style with just a few clicks.

Also, Spring creators get 40% off an annual plan! Just use SPRING23 at checkout! So go to Kittl and check out the resources available to you.

And if time or energy is in short supply this holiday season, no worries. You can always hire a pro designer to craft your perfect ugly Christmas sweater. Check out https://affinityx.creator-spring.com for expert help! 

By accessing the link above, you pay a small fee (only $17) to get professionally designed, branded, eye-catching images, such as:

Now go create and launch your ugly sweater designs!

Every year, the holiday shopping frenzy starts earlier, with 57% of consumers commencing their gift-hunting even before Thanksgiving! 

So don’t let this golden sales opportunity slip by. Start crafting and releasing your ugly sweater designs early, so your fans can deck the halls in style and celebrate National Ugly Sweater Day in your creations! 🎄🎉

Categories
Creator success Holiday Season

Your 2023 Holiday Design Guide

Spring creators rake in a jaw-dropping 121% more sales over holidays than the rest of the year! 💰 It’s time to get those designs locked and loaded for launch, but don’t worry, we’re here to help. Check out all our tips and tricks to launch your best merch yet. 

Why are the holidays so lucrative? 

The holidays are filled with anticipation and excitement—and shopping! Having fresh designs for the holidays gives your fans something new to get excited about and drives more traffic to your store. But let’s dive deeper on why. 

Launching new merch for the holidays is…

  • exciting for fans who want to get into the holiday spirit, 
  • exclusive since they’re only around for a limited time,
  • and for everyone. People who shop during this time of year are looking for that special something new for themselves and loved ones. 

But how do you know what to create? Spring has 8 helpful tips to ensure your holiday products are poised for success. 

TIP 1: Crowdsource fans to discover what they want.

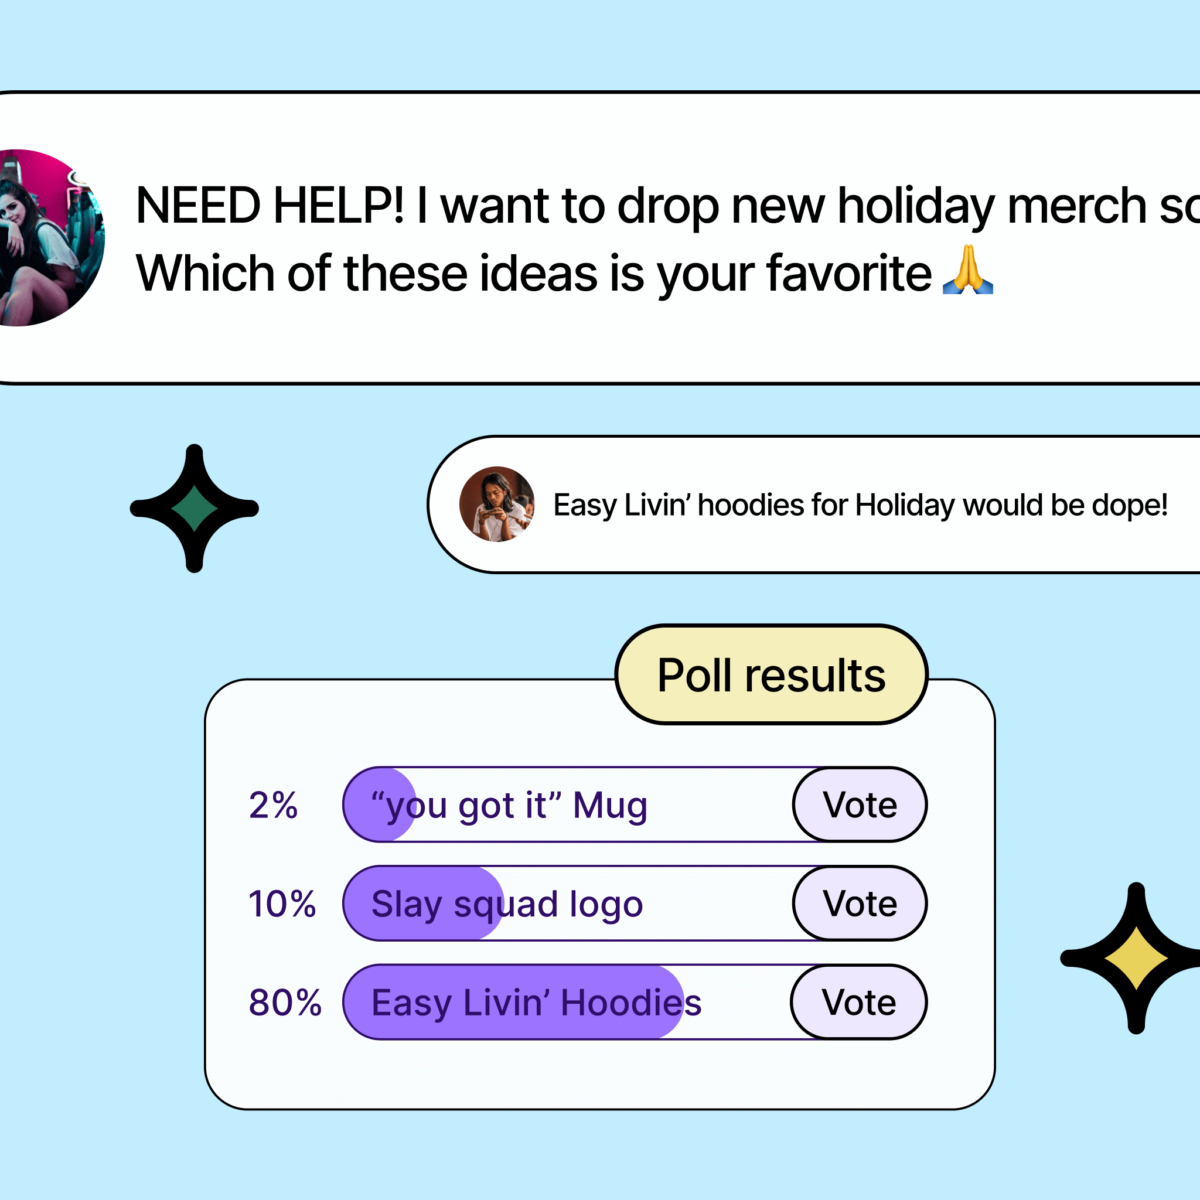
When it comes to crushing it as a creator, tuning into what your fans really want is key. Crowdsourcing design ideas is a direct hotline to your audience’s hearts. When you let your fans be part of the creative action, you’re not just selling products they love – you’re also stacking the odds in your favor.

So what exactly is crowdsourcing?

To break it down, crowdsourcing is like a brainstorming session on steroids. It’s all about gathering ideas from your fans and using them to craft merch that THEY want. 

The fastest way to get this info is by heading to where your fans hang out the most: social media. It’s not just quick and easy; it’s also a chill space where fans tend to be real and honest in their comments, rather than filling out stuffy feedback forms. But, you’ve gotta have a game plan for collecting this info. 

Don’t sweat it, though. Check out our crowdsourcing blog for five killer ideas to kick things off.

Tip 2: Launch new clothes

Clothing items are consistently top sellers, especially when you feature fun new designs. In fact, fashion and apparel was the most popular gift category during the holiday season in 2022. You don’t have to design from scratch, you can add a holiday-twist to a current best-seller or take a popular trend and holiday-ify it. 

Here’s what sold well in 2022: 

Hoodies: 

A top seller is the Unisex Classic Pullover Hoodie, featuring a classic fit and cotton-polyester blend. This hoodie is durable and soft to the touch. 

T-shirts:

T-shirt sales make up 65% of total global apparel sales! Tees can be worn alone in warmer months and layered in cooler months. You’ll want something stylish, yet durable. Go for classics like the Hanes tagless tee (people hate tags!), the Next Level tee (a premium quality T-shirt that can be dressed up or dressed down), or for a high-quality T-shirt that has a silky smooth feel, try the premium tee. 

Sweaters: 

Ugly sweaters rule the season. One in three people under 35 buys an ugly Christmas sweater every year! The crazier the better, so unleash your creativity. Spring has some basic sweatshirts you can use as your canvas and here are some design templates from Kittl you can use to speed up the process. Use the code SPRING23 for 40% off an annual plan! 

TIP 3: Use trendy color palettes

Here are some telling statistics:

93% of people believe that color/design is the #1 influencing factor in what they buy!

Within the first 90 seconds of seeing a product for the first time, we make a subconscious judgment. 90% of that judgment is made based on color alone! So how to apply color? 

Here are a couple color trends for this fall:

  • Shades of Pink and Purple – Hot last year and the popularity has not waned one bit. Rose (light pink), mauve (pale purple), and lavender (a light purple with a blue tint) are named after flowers. These shades bring a lighthearted, youthful energy to designs, whether you go with a shade that’s bright or muted. 
  • Neutrals – Earth tone shades work well on clothing and appeal to a broad consumer base. You can make designs stand out when including a bright pop of color (such as orange and yellow) or keep it chill. 
  • Shades of Blue – Blue consistently ranks as everyone’s favorite color, most likely due to its calming effect on the brain. But know what else is cool? Blue can work for a variety of Holiday designs, especially when tying in wintry themes. 
  • Or be on trend and use the 2023 color of the year Viva Magenta.

Tip 4: Create a branded ugly Christmas sweater.

With one in three people grabbing an ugly Christmas sweater each year, it’s a must-have holiday product to launch this year. 

But for your highest chance of success, you don’t want a standard, run-of-the-mill design. You want a design that’s uniquely YOU. 

Here are expert tips for an epic, on-brand holiday sweater:

  • On-Brand Theme: Start with a theme that matches your brand’s style. Infuse your brand’s values, messages, or symbols into the holiday vibe.
  • Color Palette: Stick to your brand’s colors, but don’t be shy about adding some festive shades. Keep it on-brand with a holiday pop.
  • Irregular Patterns: Ugly sweaters thrive on chaos. Think geometric shapes, uneven lines, and quirky arrangements. Keep it consistent with your brand’s style for instant recognition.
  • Playful Messaging: Inject your brand’s personality with cheeky messages or witty wordplay. Let your brand shine in the holiday theme.
  • Test It Out: Before the final masterpiece, share variations on social media and get feedback from your crew. It’ll make them feel valued and excited for the launch, ensuring the design’s success.

For design help and best practices, check out our Ugly Christmas Sweater Design Guide.

Tip 5: Offer stocking filler gifts

Stocking stuffers are always popular and many shoppers buy more than one! Try out some of our new products, which are ideal stocking stuffers for holiday gifting:  

  • Die-Cut Stickers – This means that the sticker is cut around the contour of your design. Unlike stickers in the standard shapes of a circle, square, or rectangle, die-cut stickers will be completely customized to the shape of your artwork. Any shape sticker you’re imagining is possible as a die cut. 
  •  Mugs – winter’s top accessory and a great canvas for your most popular designs.
  • Tumblers – A tumbler is an insulated mug or cup you can take on the go. Another great way to keep your brand in their hands all day long!
  • And of course, phone cases. Always in style, always needed.
  •  Notebook – decorative organization tool for lifestyle & wellness buffs.

Tip 6Launch a classic design

Tired of the holidays already? You don’t have to create a holiday theme if you don’t want to. The goal is to launch something shiny and new. Go for a classic design that fans can wear year-round. 

You can still lean into the colors that are trending (mentioned above) and the products that are top-sellers (like Tees and hoodies). 

There are plenty of people who don’t want to spend the next 3 months sporting pumpkins and santa hats. Give fans a variety to choose from so you can capture both the holiday-enthusiasts and the Grinches.

Tip 7: Hire a professional designer.

Short on time or seeking top-notch merch designs? Consider hiring a pro designer. 

Quality designs can significantly boost your sales, making it a worthwhile investment. 

With our AffinityX partnership, you can get a merch design tailored to your brand vision for just $17.

Learn more and place your custom merch graphic design request here.

We also offer store banners, promotional assets (think social posts, ads, etc.), and logos!

Tip 8: Take advantage of templates.

Unlock the power of design templates to craft amazing merch graphics and social posts. Our partnership with Kittl offers you access to a vast library of templates, including merch designs, logos, social graphics, and more.

Plus, you’ll enjoy an exclusive 40% discount on an annual membership when you use this special link and use the code SPRING23 at checkout! 

Templates are your time-saving secret weapon, allowing you to create top-notch, market-ready merch in mere minutes!

Final thoughts

Want more tips? Get them along with more inspiration at our Holiday Resource Hub. While there, check out the Countdown Calendar for key benchmark dates to keep on schedule so you can maximize those sales. The best part?—you can earn prizes, too (like free merch designs)! 

Keep in mind that the earlier you get your designs done the earlier you can start promoting, especially for products that need to ship in time for the holidays…Capitalize on that holiday excitement and start creating those holiday designs! Happy Holidays and Happy Selling! 

Categories
Creator success Holiday Season

The Power of Crowdsourcing: Tapping into Fan Insights to Launch Top Selling Merch

In the world of creator success, tapping into your fans’ desires is the ultimate game-changer. When you crowdsource design ideas, you’re not just making merch; you’re crafting a direct connection with your audience. 

By giving your fans a voice in the creative process, you’re not only launching products they genuinely desire but also increasing the odds of success.

It’s a win-win strategy that transforms your passion into profits while making your fans feel like cherished collaborators in your creative journey.

But first, what exactly IS crowdsourcing? 

Simply put, it’s the process of collecting ideas, and/or content with the assistance of input from a large number of people (your fans) on a topic of your choice. Once you’ve collected those ideas, you can use that info to develop products, and refine your marketing strategy. Methods of crowdsourcing are always evolving, so let’s cover some ground, starting now! 

Use social media to understand your fans’ needs & wants

Crowdsourcing is a chance to learn your fans’ buying behaviors, expectations, interests, pain points, content preferences and so much more.

The best way to quickly gather all of this information is to go to where your fans connect with you the most: social media.

It’s not only instant communication, it’s an informal arena where fans are more likely to be candid and real in their comments versus filling out an official feedback form. But, you need to have a plan for how you will source this information. No worries, we’ve got 5 great ideas to get you started. 

How to conduct social media crowdsourcing

Now that you know the importance of social media crowdsourcing, it’s time to learn the best way of going about it. Here are a few tips:

1. Define your expectations & goals

When you ask for feedback, you might get back more than you can easily process. Unless you have a clear understanding of what you’re looking for, it can be overwhelming.

Ask yourself what you hope to gain from what you hear? Maybe you want to improve your designs, or the rapport you have with your social media followers. Or maybe you want to learn their interests so you can use them in your promos. 

Whatever it is you’re going for, clearly define it from the beginning. In this case it’s Holiday-themed products. Start there.

You can run several separate efforts simultaneously, but the goals should always be defined in each. 

2. Choose the right channels and tactics

There are a number of ways to collect feedback from followers on your socials:

  • Conduct polls 
  • Browse comments
  • Monitor DMs
  • Send out survey links
  • Ask your community or individuals to mention you in posts
  • Monitor mentions that are un-tagged

Observe which channels your followers most commonly use so you have the best chance of collecting the most sufficient information. 

3. Craft a Compelling Post 

Write a detailed and engaging post explaining your crowdsourcing initiative.

Mention your objectives, that you are looking for holiday-themed suggestions, and clearly state any specific guidelines or restrictions for these product ideas. Encourage creativity and excitement.

4. Have a unified monitoring platform

If you’re using one platform (like Instagram) to collect insights for a specific purpose, it may not be an overload of information.

But if you’re running polls on five different platforms, it can quickly get overwhelming to make sense of the data. You may even miss crucial information or comments if you are having to manually monitor them all. Selecting one platform to begin might be the best idea. 

5.  Run Social Media Contests

People love to win stuff. Plus this is a fantastic way to gain insight. Here are 4 key ways to crowdsource product ideas using social media contests:

1. Ask your followers/fans/customers what their needs/wants are. 

The more you listen to someone’s needs and wants, the more loyal they become.

EX: Use your X (former Twitter) feed to give your followers an option on which product they would be more likely to buy.

This method kills two birds with one stone: It crowdsources your own decisions on which product to push, and it shows your followers that you listen to them.

Quick tips:

  1. Post updates about your contest at various times throughout the day; Use related hashtags to reach a larger audience.
  2. Offer a prize. Increase motivation by using the winning product idea as the prize.

2. Conduct Research on product preferences.

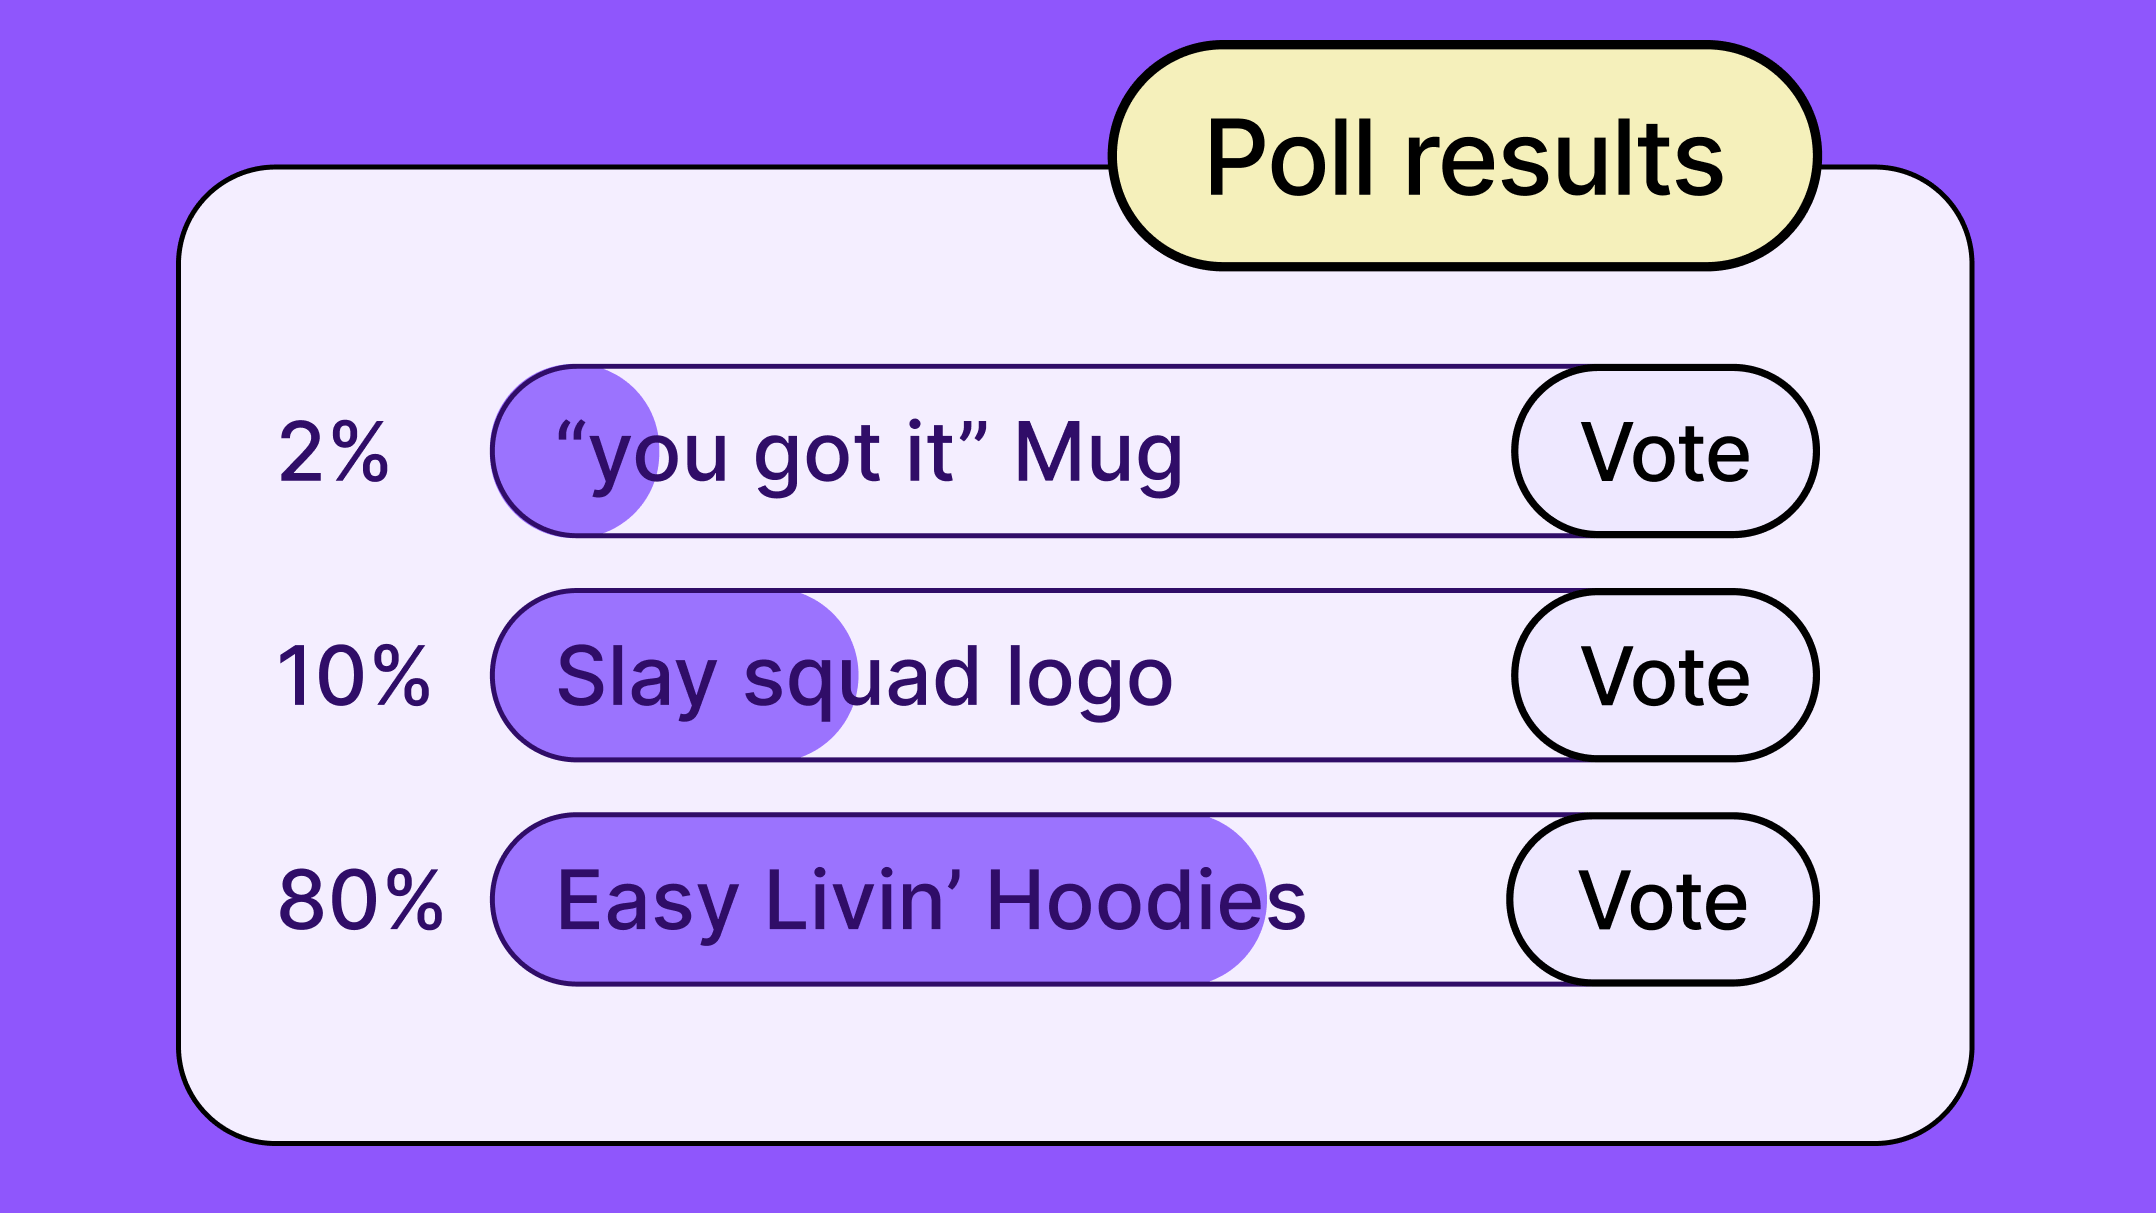
A simple way to obtain customer insights about new products is to create a vote contest (like on Facebook). Ask your followers to vote on their: 

  1. Favorite product type
  2. Preferred color 
  3. Best use of the product

Use the results to design products to launch, and watch how many respondents easily turn into customers!

3. Run a “Name a Product” contest

The name of a product can make or break it. Why not let your community weigh in on the name of your next product? There are ingenious suggestions everywhere. When you hear the perfect name, you’ll know it. It also makes followers feel they’re involved with your brand because, well…they are! Announce the winners of the prize and happily divvy it out. Tips for hosting a “Name Your Product” contest:

  1. Use a “namesourcing” site like NamingForce, NameStation, Hatchwise or Name Contests, or set up your own contest on your site or socials.
  2. Promote contests through your socials, paid ads, & earned media (if you have the budget) to generate more entries. 
  3. Do not mislead. Be crystal clear that you, no one else, has the final say in what name wins (just in case names submitted don’t work for your brand).
  4. Follow through. Naming the product is only the first step. Announce the winners on social media. You can even tag and tweet the winners, if possible. 

4. Ask your followers to submit new ideas. 

Engage your followers by requesting them to submit ideas for new products. Better yet, make it ONE idea for a new product. Specificity is always better.

What this does is empower your community. It gives them a sense of passion and commitment to what you do. It also results in them thinking about what other types of products you carry because they might have to check out your store to come up with a new product.

Loyalty AND sales have now increased!

Tips for crowdsourcing new products:

  1. Host a contest on your social platform or you can ask participants to give you a new product idea in your comments.
  2. Ask for new ideas about a product related to the products you already offer to incentivize store traffic and increase sales. 
  3. Give incentives that appeal to your target audience (discounts are always popular).

Asking for input before a product launches gives fans an “own-it” mentality, turning products they like into products they love.

Holiday Resource Hub and Countdown Calendar

You need to (right now) get to the Holiday Resource Hub, which also has our Countdown Calendar with key benchmark dates to help creators negotiate the hectic holiday season. These invaluable tools will help you maximize your sales this season. 

Finally, Run a Post-Holiday Evaluation 

After the holiday season, you can evaluate the success of your crowdsourcing campaign, engagement, sales, and feedback. This will be exponentially beneficial during future campaigns. 

Crowdsourcing holiday product ideas through social media not only helps you tap into the creativity of your audience but also fosters a sense of community and engagement around your brand. It’s a win-win strategy when executed as we outlined above.

Happy Holidays and Happy Selling!

Categories
Creator success Holiday Season

Your Ultimate Holiday Launch Checklist

Getting ready for the holidays as a content creator can be pretty overwhelming. Especially because more and more folks are starting their holiday shopping early, so you gotta hustle to create, launch, and promote your merch ASAP.

Accenture’s holiday study found that 44% of shoppers are jumping into holiday shopping ahead of time to make sure they get what they want for the holidays. Plus, a whopping 57% are starting their holiday shopping on or before Thanksgiving.

Feeling like, “Where do I even start?” No worries! We know life’s easier with a checklist, so we’ve got one just for you.

Follow the steps for a successful holiday season of sales, or download the PDFs below so you can check them off one-by-one!

Pro tip: In addition to our prepare to launch checklist, we put together an incredible Holiday Resource Hub. Check it out for design help, sales strategies, holiday competitions, and more!

Your Launch Checklist

There’s a lot that goes into launching a product. Often creators need some guidance on best practices to give them the best chance of success.

Here’s a quick rundown you can use as a checklist: 

unchecked Optimize product names for SEO success.

Fans can’t easily find your products if you don’t give them an easily searchable name. The more unique and tied in your brand, the better. Don’t forget to use keywords so you rank in search.  

unchecked Bring back bestsellers.

It was a bestseller for a reason, which means it will increase in popularity over time due to nostalgia, which is a huge factor in purchase decisions. Add a new spin to the design or put it on a new product style so it’s old and new at the same time.

unchecked Introduce new or limited edition colors and/or designs.

FOMO moves merch. When it’s a limited edition release, fans know they need to get it before it’s gone. If it sells well, you can bring it back in the future, under a new promotion. 

unchecked Refresh your product descriptions.

We sometimes fall into the habit of keeping out-dated info in our product descriptions—especially if it’s a product that’s either been around for a long time or fell off your radar because sales were low. But old info is what’s keeping your product from selling!

Get off that hamster wheel and write a product description that makes the buyer HAVE to have it and keep refreshing your descriptions every couple months.

unchecked Expand your collection of popular designs.

Is a design doing well? Add it to a sticker or a mug. If it ain’t broke, expand it. Spread it across more products and create promotions for each one! 

unchecked Keep your messaging authentic to connect with fans.

Don’t go overboard with holiday designs if it’s not on brand or won’t resonate with your fans. Holidays can be another moment to connect with your fans in an authentic and organic way.

Your prepare-to-launch checklist:

unchecked Crowdsource new ideas. 

Engage your followers by asking them to comment about what type of merch they would like to purchase. There are 3 things to ask your audience:

  • Type of product (tees, hoodies, etc.)
  • Design on the product (theme, colors, etc.)
  • Name of the product 

What this does is empower your community with a sense of passion and commitment to what you do. And they’ll be more committed to buying your new product once you launch it.

Tips for crowdsourcing new products:

  • Host a contest on your social platform or you can ask participants to give you a new product idea in your comments.
  • Ask for new ideas about a product related to the products you already offer to incentivize store traffic and increase sales. 
  • Give incentives that appeal to your target audience (discounts are always popular).

Read more great crowdsourcing tips here.

unchecked Create new designs from the results.

Got some good ideas? Put them into action! You can even put a holiday-spin on a current best-seller. The goal is to launch new products during the holiday season for the best chance of increasing your sales.

For help creating successful products, check out our holiday design guide!

unchecked Select best-selling holiday products from our holiday collection.

Go to our Holiday Resource Hub and pick from the best-selling products. You want to put your best foot forward and start with products you know are a shoe-in to give you solid sales numbers.

Products like Hoodies and Sweatshirts sell 20% more during the holiday season, so having the right products in your store can make a big impact on your bottom line.

unchecked Choose seasonally relevant product colors.

The colors you use for your merch make or break its chances for success. Here are some telling statistics: 93% of people believe that color/design is the #1 influencing factor in what they buy! Within the first 90 seconds of seeing a product for the first time, we make a subconscious judgment. 90% of that judgment is made based on color alone! Here are a couple color trends for this fall:

  • Shades of Pink and Purple – Hot last year and the popularity has not waned one bit. Rose (light pink), mauve (pale purple), and lavender (a light purple with a blue tint) are especially popular.
  • Neutrals – Earth tone shades work well on clothing and appeal to a broad consumer base. You can make designs stand out when including a bright pop of color (such as orange and yellow) or keep it chill. 
  • Shades of Blue – Blue consistently ranks as everyone’s favorite color, most likely due to its calming effect on the brain. But know what else is cool? Blue can work for a variety of Holiday designs, especially when tying in wintry themes.
  • Viva Magenta – this is Pantone’s 2023 Color of the Year. Give it a try!

unchecked Give Your Storefront a Total Glow-Up.

Did you know that roughly 30% of shoppers kick off their holiday shopping as early as October or even before? And 57% of consumers will begin holiday shopping on or before Thanksgiving?! Is your Spring store ready? If not, here are simple steps to follow:

  • Customize your logo, navigation bar, and footer to match your brand. You can also add festive, holiday-themed imaging to encourage gift purchases over the holidays. 
  • Update your hero banner. Again, you can add a festive flare if you want. Just make sure to retain your brand image. 
  • Reorganize and set featured products to show off your best sellers and holiday products first. Products featured within storefronts get 58% more views and sell 20% more on average. 
  • Connect or purchase a domain to attract more visitors to your site, which increases your chances of selling more merch. Check out our resources on how to connect or buy a domain

Armed with these tips, you should be able to have the best-selling holiday season you’ve ever had! 

If you want more help with these steps, check out our blog that details how to freshen up your Spring store with step-by-step instructions and visuals.

When your store is branded for the holiday season, you’re setting yourself up for maximum success! Hit this checklist good and hard and watch your sales soar. Happy Holidays and Happy Prospering!
Categories
Creator success Holiday Season

Introducing Spring’s Holiday Resource Hub: Your Guide to Holiday Sales Success

The Holidays are upon us and for most people that means its time to get cuddled up in a blankie by the fire with hot cocoa–but for Spring creators that means… SALES!!! Lots of them.

How many Spring products did we plug into the opening sentence? Let’s see…Blanket, Mug, Pillow, maybe you’re even cuddled up in a hoodie with a tee underneath and leggings…the merch possibilities are endless! Just sayin.

But here’s the real deal: Creators like you see a whopping 121% boost in revenue during the holiday season compared to the rest of the year. Impressive, right?

And guess what? A recent 2022 survey revealed that 26% of online shoppers kickstart their holiday shopping as early as August. And another 26% jump into action come early November. 

Source: Statista

With 70% of consumers starting their holiday shopping before Thanksgiving, you’ve got to launch and promote your products pronto!

But don’t stress, we’ve got your back with a bunch of handy resources that will make designing, launching, and promoting your merch easier than ever.

First, We’ve Got Our Holiday Resource Hub

Even if you’re ready to launch, you may need a little (or a lot of) direction on things like, what products you should launch, or what designs you should put on them. Maybe you want to learn some tips for driving more traffic to your store, or getting more visibility on your products. 

What if there was one place you could check out all the resources available to you so that you could be sure you’re being the most effective and efficient? Would you use it? Of course you would. And the best part is it’s free! 

The Holiday Resource Hub is a one stop shop for creators creators to learn all the tips and tricks and best practices to help you launch and promote your holiday merch—esentially, a place for you to learn how to maximize your sales this holiday season! 

Here’s what you can find on the Holiday Resource Hub:

Design Tips and Inspo.

Spring’s Holiday Resource Hub’s Design Section

200% more designs are launched on Spring during the holiday season than any other time of year…so join the party! Here are some tips on how.

  1. Resonate. Lean into themes that resonate within your community; play on popular sayings, catch phrases, or key moments from your content. 
  2. Find inspiration on our Pinterest board. Check out our Pinterest board, showcasing the latest merch styles and trends popping up in the creator community. 
  3. Crowdsourcing. What do your fans want? Learn how to source ideas and inspiration from your followers with our easy-to-follow guide. 
  4. Stick to what works. Your new merch doesn’t necessarily have to be holiday-themed. Your fans are shopping for year-round merch as well. All you gotta do is launch something new. 

Design Help.

Spring’s Holiday Resource Hub’s Design Section

The Resource Hub has got you covered. Whether it’s color palettes, templates, or how you can hire a designer, we got you! 

Product Reccomendations.

Spring’s Holiday Resource Hub’s Products Section

We’ve curated the top products that you need to add to your store this holiday season. Even for your existing designs, these are the real money-makers! For example, hoodies and sweatshirts sell 400% more in November and December! 

Tips on Boosting Sales.

Spring’s Holiday Resource Hub’s Sales Section.

We’ve got lots of tips on maximizing sales as well as the key dates you want to hit for promotions. Here’s a little tidbit: Did you know that showing samples in your content boosts sales by 50%! That’s no joke! 

Key Dates in our Countdown Calendar.

Spring’s Holiday Resource Hub’s Sales Section.

There are a few key dates you want to use as benchmarks throughout the holidays (Ex. Black Friday, Cyber Monday, Last Call for Shipping, etc.). 

This last bit brings us to…The Countdown Calendar!

Get set for a season of success (and win cool prizes along the way) with our Holiday Countdown Calendar! Let’s break this down. 

  1. Holiday Calendar. There are multiple key dates on the calendar you want to be aware of so you can be best prepared. Some examples include: 
    1. Checklists. 
    2. Prize schedule. (yes, you can win prizes!) 
    3. How and when to drive more traffic. 
    4. Promo codes and key dates to use them. 
    5. Digital Products and when it’s most optimal to push them. 
    6. Key Shipping Deadlines (You want to pay attention to those BIG TIME because that will help with customer satisfaction). 
  2. Prizes. You will see lots of prizes on the calendar. Pay attention to the dates and plan accordingly so you can get yours! Prizes include, but are not limited to:
    1. Free Merch Designs
    2. Free Samples
    3. Spring Sponsored Promo Codes 
    4. Gift cards 
    5. Features in Email and Social 

Check the Countdown Calendar for prize dates and details! 

Final Thoughts

What are you still here for? Get over to the Holiday Resource Hub, start following those tips, sync your Calendar, design new merch, and launch now! Happy (Prospering) Holidays!!!

Categories
Creator success

7 Tips to Help You Master Brand Deal Negotiations

Whether you’re a seasoned creator or just getting started, partnering with brands is an important step in monetizing your brand. Whether you’re aiming to utilize strategies like product gifting, paid product collaboration, press trips, or giveaways (if you’re not familiar with these, this is a blog for another time), we can help you navigate the negotiation process with brands. 

First, let’s try to cut out a key component of what could be stopping many of us. Human beings are emotional beings. However, emotion has no place in business (unless of course it aids the sale) and certainly not in negotiations. Knowing this, it’s easy to see why both sides at the negotiating table really need instruction. We’re not claiming you’ll be an expert negotiator after this blog (although you may be), but we’ll give a quick rundown on the basics so you can start getting paid for your hard work! 

Here are 8 tips for negotiating brand deal contracts as a creator, because at the end of the day, a solid contract is the roadmap to a lucrative relationship. 

1. Learn the Value of Your Platform

You’re putting yourself at a disadvantage if you begin negotiating without knowing your platform’s value. Analyze your metrics––likes, comments, shares, views, etc. This includes the demographics and size of your audience. Why do you need to know this? Because it’s the first thing the brand you’re negotiating with is going to research. It’s how they will determine what to offer you. You might as well be ahead of them in the game. However, the numbers alone are not the value of your brand. Your unique perspective and voice is an asset that only you bring to the table. Brands are eager to take risks when they see someone interesting. Never be shy about pointing out these qualities when it comes to discussing potential partnerships. 

2. Incorporate Other Platforms

This is simple. The more platforms, the more audience you can reach, the larger the collaboration, the higher the ROI, the higher rate you can ask. For example, if in addition to YouTube and IG you also have a blog, add the blog post to the campaign, as that content will stick around for years, adding long-term value to the brand. 

3. Research Market Rates

It’s a known practice for brands to undercut in offers. But if you don’t know the market rates, how are you supposed to know if you’re getting a fair deal? Familiarize yourself with market rates for creators. Check out the latest posted rates per platform here. This information is key for you to use as a benchmark in your negotiations. 

Note these calculations depend on a few factors:

  • Engagement rate: The higher your engagement rate, the higher you can raise your rates!
  • Exclusivity: Let’s say you partner with a T-shirt brand and they say you cannot work with other T-shirt brands for 6 months (exclusivity). This could be a loss of income for you, which means you can charge the brand more for exclusivity terms.
  • Rights to content: If brands are going to use your content in the campaign and not give you credit for it, make sure it’s in the contract that you are to be compensated extra for that! 

Remember that rates are never set in stone. If you feel strongly that your audience and content are valuable to a brand, it’s perfectly fine to ask for more than the average rate. You know your value. Stay true to that. 

4. Ask for Compensation if it’s not Offered

Just because a brand doesn’t mention compensation when they reach out to you to be part of their marketing campaign, it doesn’t mean they don’t have a budget. You have to ask. Most won’t even bring it up, because if you don’t have to pay for something, why would you? A nice way to approach compensation might be, “Thank you so much for reaching out to me. This campaign is a great fit for my audience. Does (brand name) have a budget for this?” Attaching your media kit at this stage (including the value you determined in step 1) is a great move. 

If they say they have no budget, it’s up to you if you want to continue with a collaboration. Based on the time it takes to create content (a lot), you must decide if it’s worth it. 

5. Clearly Define the Scope of Work & Deliverables 

Clear communication is the key to everything in life. It really is. What does this brand expect from you? What do you expect from them? Deals fall apart every day because of misunderstandings or miscommunication. Define the scope of your work. Outline the deliverables (this means specifics––Instagram stories, YouTube videos, sponsored posts, etc.). But go even further. Are there content usage rights or exclusivity clauses? Are there any additional requirements from either party’s perspective? When you and the brand both have a clear understanding of what’s expected from the partnership, there is a solid foundation for a working relationship.. 

6. Negotiation is Not to be Feared

People fear this stage. When you switch your attitude and look forward to this stage, you’re ahead of the game. Don’t accept the first offer. Negotiation is not only a part of the process, but most brands expect you to counter. Be professional and respectful. Use clear communication in your reasoning behind your counteroffer. Be open to compromising on a middle number that satisfies both you and them. Negotiating is not just about money. You can negotiate content usage rights, the duration of the partnership, the scope of the work, the list is endless. Just know that negotiation is normal. 

7. Aim for the Long Play

Sometimes we want the big money score, but sometimes it’s good to look at growth opportunities and/or long-term partnerships. Before negotiating, look past the monetary gain and consider the potential of the partnership long-term. Does this brand present opportunities for increased exposure, long-term perks, or ongoing collaborations? In other words, can it result in much higher revenue-stream down the road? If so, you may want to consider a lower rate initially. However, you must clearly communicate your intention of establishing a long-term partnership and mutual growth opportunities before the deal. They must understand you’re accepting the lower rate due to the potential. Being clear about this not only opens the door to a great relationship, but to more lucrative opportunities and a stronger and more diverse portfolio of partnerships in the long run. 

And there you have it. We’re all human. When it comes to negotiating, remember which aspects of humanity to employ and which ones to leave at the door. And as a final reminder, always ensure the brands you’re working with align with your niche & values. Nothing is more human than that. 

Categories
Creator success Design tips

How to take the best product photos for your socials

We are now in the era of social commerce. Product photos are as important now as ever. It really is the deciding factor on whether someone clicks on your post––or not. But as always, Spring has your back. While you can’t do custom product photos on Spring (yet), you’ll want to order a sample so you can take custom photos for your social platforms. 

Here are 11 great tips on how to take the best product photos for your socials. 

1. Native.

Take a photo of the item in its native environment. This means either take a photo of the item with you, or wherever it would naturally be used. For example, if your product is a beach towel, put that baby on some sand. 

2. Natural Lighting.

Lighting is key to great quality. Use natural lighting when possible. This will show off the true colors of the product. It’s easy to become obsessed with the correct lighting equipment but natural lighting not only offers a more cost-effective method but is true-to-life.

NOTE: You can’t control natural lighting. Maybe it’s sunny now and overcast in an hour. In that case, have a cheap lighting kit as a backup but try to combine natural lighting with artificial lighting. If you need to use white bounce boards to get rid of shadows or a diffuser sheet (if the sun is too bright), you may want to invest in those items. 

3. Different angles.

When consumers see a product from multiple angles, they are more likely to imagine themselves using the product. There are many angles to shoot from, but the 6 angles that will serve you best are:

Front

Profile (side)

45-degree

Back

Top (shot from above)

Macro (tight or close-up shot)

4. Flat lay your products with other items.

Associate your products with complimentary items. For example, T-shirts w/ pants and a bag or handbag, or a mousepad near the computer, or a person holding a mug with coffee in it, etc. This form of product photography also helps your brand tease other new products, piquing consumer interest and ultimately driving more traffic to your Spring store.

5. Neutral background.

Still photos work best with neutral backgrounds (white or black for example). When in doubt, use a white background. This is for two reasons:

White backgrounds have great light reflection, meaning you don’t need a huge lighting setup.

White removes distracting or confusing backgrounds, keeping the focus on the only thing that matters––the product. 

6. Know the aspect ratios of your platform.

Different aspect ratios may dictate how you shoot. For example,

Instagram – Keep a Consistent Photography Theme. The types of photos you use on your Instagram profile will impact its visual appeal. There are many Instagram themes that you can use, just ensure your Instagram photos showcase your products in the best way possible. Instagram post sizes are: Landscape: 1080 x 566 pixels Portrait: 1080 x 1350 pixels Square: 1080 x 1080 pixels.

Threads (Instagram’s Twitter twin)The standard link share image will be cropped to a 2:1 aspect ratio on Threads.This is a little bit wider than link share images on Facebook, Twitter, and LinkedIn, but the same images should work just fine on Threads.

FacebookFacebook timeline photo and post sizes: FB automatically resizes and formats your photos to be 500 pixels wide and to fit the 1.91:1 aspect ratio. But avoid pixelation or slow load times by remembering these sizes: Recommended size: 1200 x 630 pixels Minimum size: 600 x 315 pixels

LinkedIn – Sponsored content images: 1200 x 627 pixels (1.91:1 aspect ratio) Sponsored content carousel images: 1080 x 1080 pixels (1:1 aspect ratio)

Twitter – Twitter image sizes for in-stream photos: 1600 x 900 pixels (recommended) or any aspect between 2:1 and 1:1 on desktop; 2:1, 3:4 and 16:9 on mobile.

Pinterest Pinterest image sizes for ads and carousels: App install ads: 2:3 aspect ratio is recommended; 1000 x 1500 pixels recommended. Carousel Pins and ads: aspect ratio of either 1:1 or 2:3. 1000 x 1500 pixels or 1000 x 1000 pixels recommended; Up to 5 images can be included in a carousel. Shopping ads: 2:3 aspect ratio is recommended; 1000 x 1500 pixels recommended.

Snapchat – Snapchat ads image size: 1080 x 1920 pixels (at minimum) Aspect ratio: 9:16.

7. Tools (hardware or apps) you may need. 

Phone – Much cheaper than a professional camera, your smartphone has professional camera tools that can do the job perfectly. 

Tripod or stand – You will be surprised how handy it comes in for certain shots but if you do product shots, it’s a must to keep the camera steady. 

Backgrounds/Backdrops – These are real (not digital) backgrounds/backdrops that you place under and behind your products so that you don’t see a seem, as you would if you simply shot with a white wall behind the product. Worth every penny, considering how essential it is to have certain backgrounds. 

Wireless remote.

Add-on lenses (optional)

Adobe Lightroom app (which has a free version, or you can opt for the paid version which comes with additional features). This allows you to edit your photos, whether it be cropping, coloring, etc. 

Lightricks’ suite of photo editing tools (Facetune, Filtertune, and Photoleap). If you don’t want to invest in paid third-party apps, most smartphones come equipped with some decent native photo-editing tools. Experiment with your phone’s built-in contrast settings, creative cropping, portrait mode, and more to create some stunning effects — without professional photography skills!

8. The Rule of Thirds.

This is a known rule in photography (video or stills). Imagine your image is cut into 9 equal squares, meaning you will have two evenly spaced lines horizontally and the same vertically. 

A red grid showing the rule of thirds grid (two horizontal lines and two vertical lines)

The focus of the photo should be approximately where these imaginary grid lines intersect. If your subject is in the upper right intersection, for example, this would leave the other two thirds of the space open, attracting and drawing the viewer’s interest. Most smartphones have a “rule of thirds” feature that you can activate. If you have that feature, try following these steps: Open Settings > Click Camera. >Toggle on the Grid option under Composition.

For Android: Open the Camera app. > Click Settings. >Turn on Assistive Grid. 

Note: You won’t see the grid on the final photo, only when you take the photo. Keep in mind the rule of thirds is not a universal law. There are occasions when a perfectly centered shot is more appropriate. Use your judgment. 

9. Set your pixels correctly.

To put it bluntly, it doesn’t do you any good to go through all the effort to produce a professional-caliber photo if you don’t set your pixels correctly. For example, a 5 X 7 print on your refrigerator requires a lot less pixels than a giant billboard on a building. Your pixel count tells you how detailed an image will be, and goes hand in hand with photo resolution. Nowhere does resolution matter as much as on social media. The higher the resolution, the more details. Conversely, with a low resolution photo it won’t matter how good your production value was when you took the photo. It will look unprofessional. Crisp images with the highest level of detail is what you’re aiming for. You’ll want at least 10 to 20 megapixels. There are smartphones out there that can shoot up to 40! 

10. Set your white balance.

Based on the light temperature in your setup, touch the WB button on your smartphone, then touch the white background. Check the exposure. Tap the circular Exposure button, then tap your product so the camera knows to expose it.

Keep everything in focus. Now touch the circular Focus button, then tap your product so the camera knows to properly focus on the product. Lock your camera settings. Next, tap each button again to lock the settings in place. This will stop the camera from adjusting settings while you’re taking shots. 

11. #Hashtags.

Regardless of your niche, add relevant hashtags to your posts so that your brand can get the exposure it deserves. In many cases, customers would not have discovered stunning product photos if the creator hadn’t included the hashtag in the post. 

4 LITTLE BONUS TIPS:

Don’t do selfies (you might be in focus, but your product won’t be), don’t use the flash (overexposure), and don’t zoom (lower resolution). These 3 things lower the overall quality of your photos. And the fourth tip is if you’re using a smartphone, go horizontal instead of vertical. Landscapes are easier to crop. You’re welcome.

Start taking your social product photos now! 

Don’t feel obligated to get every piece of equipment right off the bat. Apply these tips gradually to see what paints your products in the best light, and adjust your approach as you improve. Happy shooting!