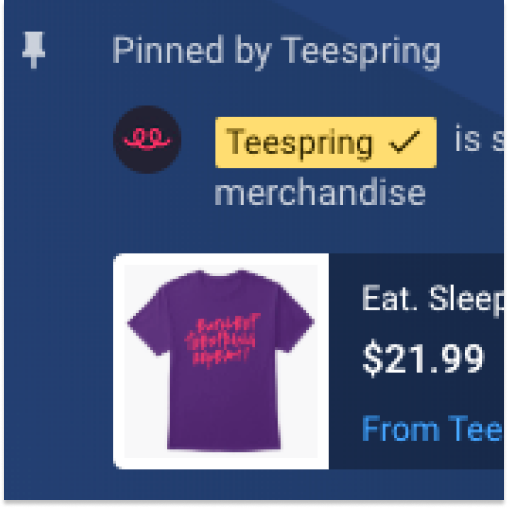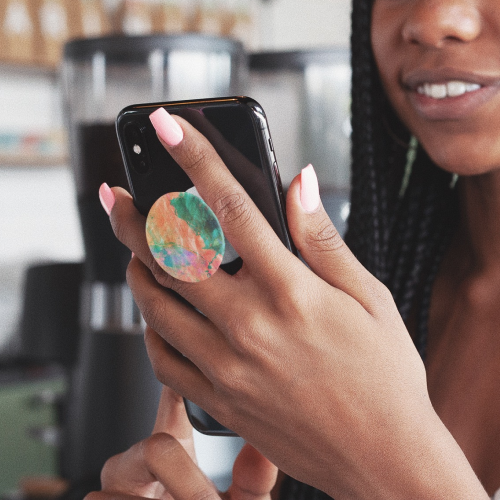
Millions of product sales have made the PopSocket® brand a popular household name. Their exclusive phone accessories can only be sold through specific, approved retailers…so we’re excited to announce that you can now sell PopSockets. Don’t forget we offer customizable phone cases too—create matching phone case + PopSocket collections to increase sales even more.
Please note PopSockets are a specialty product, so you need to unlock them in the launcher in order to sell them. PopSockets are not produced on demand, so users will need to source a minimum of 100 units in order to sell this product. You have the option to pay for inventory upfront, or you can create a pre-order listing and we’ll process orders using the money generated from pre-order sales . Continue reading to learn more about how you can source and sell PopSockets with Spring.
Part 1: Design your PopSocket
You can customize your PopSocket from top to bottom! Check out all the available options below.
Model
You can choose between two PopSocket models; the original PopGrip, or the new PopGrip – Swappable.
PopGrip: The original PopGrip sticks to the back of phones, tablets or cases with it’s rinseable, repositional gel. Once extended, PopGrip becomes a media stand for phones, a photo or texting grip, or lower for video calls. PopGrip can stick to almost any brand of phone or phone case, but may have issues sticking to silicone, waterproof cases or textured materials like leather.
PopGrip – swappable: Like a classic PopGrip, the PopSwap sticks to your phone with a repositional gel, once extended becomes a media stand and grip. The swappable function makes it easy to remove the PopTop from the base. Swap out the PopTop as needed to match your phone with your mood. Remove the PopTop to use your phone’s Qi wireless charging capabilities.
Color options
You can customize your PopSocket from top to bottom.
PopTop: You can customize the top face (PopTop) with a 2 color, 3 color, or full color design. Note the amount of colors will impact the base cost and setup deposit of your PopSocket (see pricing section below for more info).
Base: Both models’ base is available in three colors options: white, black and white/black.

Design
We require EPS or vector files when creating designs for your PopSocket. You must follow the guidelines provided in the design template so make sure to download it before submitting your request in the Teespring Launcher. Keep in mind the number of colors featured in your design will impact the base cost of the product; you can submit a 2 color, 3 color, or full color (4+ colors) design. Check out our free design collections you can apply to this product as well as our PopSocket inspiration board below. Consider creating phone cases to match your PopSockets—this is a great way to promote product collections and increase sales.

Pricing
The amount of colors featured in your design and the amount of PopSockets ordered will determine the base cost per product. See the table below for a breakdown of prices and keep in mind the base cost includes inventory transport costs too.

Setup deposit: A nonrefundable setup deposit is required in order to process any PopSocket requests. The deposit is determined by the number of colors in your design. Setup deposits range from $35 for 2 colors, $70 for 3 colors and $105 for full color. The setup deposit only needs to be paid once, so if you order additional stock in the future the deposit will be waived.
Fulfillment fee: As with all custom fulfillment products, a fulfillment fee of 15% (minimum $2) is applied when a product is sold.
Profit per sale: As an example, let’s say you want to source 100 PopSockets with a 2 color design. Your selling price is $19.99. This means your deposit will be $35 and your fulfillment fee will be $2.99 (15% of the $19.99 selling price).
- 100 units x $5.94 base cost = $594 base cost
- 100 units x $2.99 fulfillment fee = $299 fulfillment fee
- 2 color design = $35 setup deposit
- 100 units x $19.99 selling price = $1,999 revenue
- $1,999 revenue – $594 base cost- $299 fulfillment fee – $35 deposit = $1,071 profit
- In this scenario you’re earning around $10.71 in profit per PopSocket sale.
Part 2: Source & sell PopSockets
Here’s a breakdown of how the process works once you’ve designed your PopSocket. Please note it will take around 7 to 10 business days from the day you submit your request to listing creation.
1. Submit request
Once you’ve unlocked this product you’ll see a ‘PopSocket’ product icon in the Launcher. Click the icon and fill out the form with your PopSocket characteristics and submit the request. We aim to process all requests within 24 – 48 business hours.
2. Pay setup deposit
Once we receive your submission we’ll send you a non-refundable deposit payment link. The deposit goes towards the set-up fee required to enable the machines to print your custom design. Setup deposits range from $35 for 1 color, $70 for 2 colors and $105 for full color. The setup deposit only needs to be paid once, so if you order additional stock in the future the deposit will be waived. Keep in mind you will only be able to withdraw profits from sales once orders are shipped to customers.
3. Approve quote & mockup
Once the deposit is paid we will process your request and follow up with a prototype mockup and quote for approval. Keep in mind inventory transportation and storage costs are included in the base cost quoted.
4. Source & sell
You have two options for sourcing and selling PopSockets with Teespring. Note the minimum order quantity (MOQ) for PopSockets is 100 units. Also, the minimum selling price for PopSockets is $9.99 and the recommended retail price is $15.99 – $29.99.
Option 1: Pay for inventory upfront: When you approve the prototype the next step is to pay for the full inventory order. Once full inventory payment is received your PopSocket order will be processed and we’ll confirm the estimated delivery time for your PopSockets to reach our facility. Please note we also recommend ordering an additional 5% of inventory for replacements and exchanges.
Once inventory reaches our facility we’ll take product photos and create the PopSocket listing for you. We’ll make sure to set the listing to ‘private’ so you can make it public and start selling when you’re ready. You can sell your PopSocket until stock runs out. You will be able to withdraw profits from sales once orders are shipped to customers.
Option 2: Run a pre-order listing: Teespring offers a pre-order option for creators who are unsure how much inventory to order or would like to avoid paying for inventory out of pocket. This enables you to avoid the risk of sourcing too much inventory or having to pay for the products upfront.
- After approving the mock up you’ll need to confirm the minimum order quantity (MOQ) you’re comfortable with—i.e. the minimum number of PopSockets you plan to sell. Note the MOQ must be at least 100 units.
- Next we’ll create a pre-order listing for buyers to reserve their PopSocket. The pre-order period usually lasts two to four weeks. The limited time aspect can create FOMO (fear of missing out) and result in more orders placed within a short period of time.
- We’ll inform buyers of the estimated delivery timeline for their order on the listing page and within confirmation emails. We’ll also advise them of the minimum order quantity so if the MOQ isn’t reached they’ll understand why their order is canceled.
- After the pre-order period ends (and MOQ is reached), we will deduct the cost of PopSocket inventory from the reservation profit in your Teespring account and place the order. Please note you can withdraw profits once orders are shipped to customers.
- Depending on the quantity of PopSockets, inventory should arrive within one to two weeks. At that time we’ll send the orders to your buyers. Once orders are dispatched your profit will be available for withdrawal.
Please note, if you do not achieve the minimum order quantity required by the end of the selling period, all orders will be cancelled and buyers refunded. Also, with pre-order listings the quoted base cost is “locked” once approved and will not be adjusted if you sell into the next price bracket. For example, you chose the base cost for 100 units, and you sell 502 by the time the pre-order period ends. In this case your base cost will remain the same and not be adjusted.
5. Get Paid
After all PopSocket orders are shipped to buyers, profit from sales will be available for withdrawal within your account.
Visit the Launcher now to see if you’ve unlocked PopSockets!