
Joseph, Brad and Addie are a three piece band from Phoenix, known as Halocene. With 4 original albums, over 300 covers on YouTube, and live concerts streamed on Twitch 3 times a week, they have built a loyal fan base that continues to grow.
Merch inspired by a deeper message
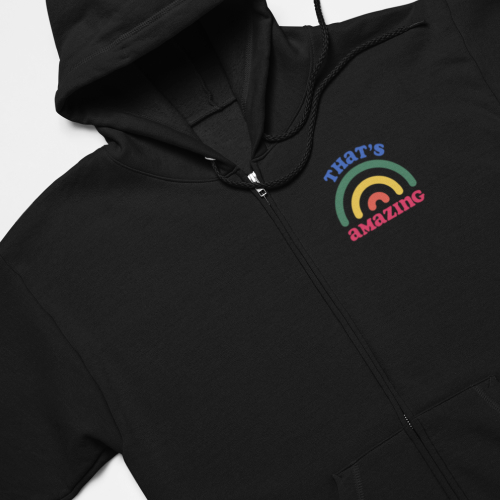
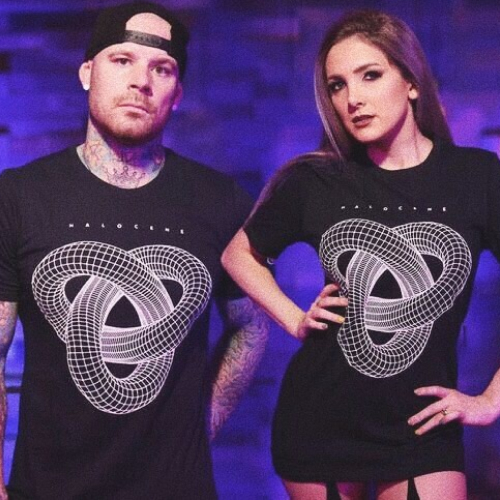
In conjunction with the release of Halocene’s new single “Devil Inside Me”, the band decided to create a new line of merchandise. Both the music and the merch raises awareness of an issue that affects so many lives in different ways—the never ending loop symbol speaks of struggling with addiction.
“In our music video, mine and Brad’s stories are constantly interlocked. What’s unique about this song is that it’s our first duet, and we play with the concept of having two voices speaking to each other throughout the song.”
Halocene x UNLOCKD
Halocene’s exclusive design is screen-printed on Champion’s premium garment range, as a part of Teespring’s UNLOCKD program. Fans will be able to purchase the design on both Champion’s double dry eco hoodie and unisex t-shirt. The signature Champion ‘C’ is also embroidered on each garment for authenticity.
“As independent artists, we’ve spent years making this band the best that it can be. The fact that we’re able to launch merch printed on Champion branded products is something we never even imagined would be possible.”
UNLOCKD is Teespring’s brand partnership program—recognizing talented creators like Halocene, giving them the opportunity to drop customized products from iconic and recognizable brands. Allowing the band to create unique merch in partnership with Champion allows not only an elevated commerce experience for their followers, but means they finish up with merch their community won’t want to miss out on.
Generating hype with merch drops
Using branded merchandise as a tool for music promotion has a long-standing history in the industry. Selling customized products to fans allows artists to create conversations, spread the word, and encourage excitement. This Champion branded merch gives Halocene’s fans the perfect opportunity to show their support and loyalty by wearing the band’s designs.
We’d like to thank Halocene for sharing their experience with us and wish them the best of luck with their newest awesome single “Devil inside me”.
Be sure to check out Halocene’s merch, Instagram and YouTube channel.