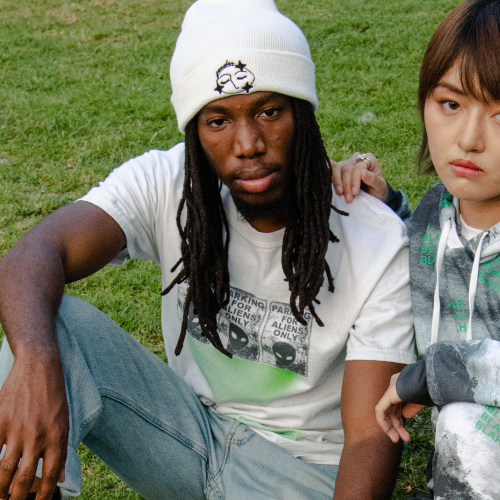
The Hat Studio is Spring’s new instant, on-demand hat launcher powered by Printful where you’ll be able to create your own hat design directly. Spring offers several high-quality embroidered hats for creators; trucker hats, snapback hats, dad hats, and beanies. Each hat is made to order.
Here’s what we’ll cover in this guide. Ensure you read each section carefully before submitting your design file to reduce the risk of your submission being rejected.
- Thread colors
- Embroidery basics
- File formatting
- Design tips—do’s and don’ts
- Other must-follow guidelines
Thread colors
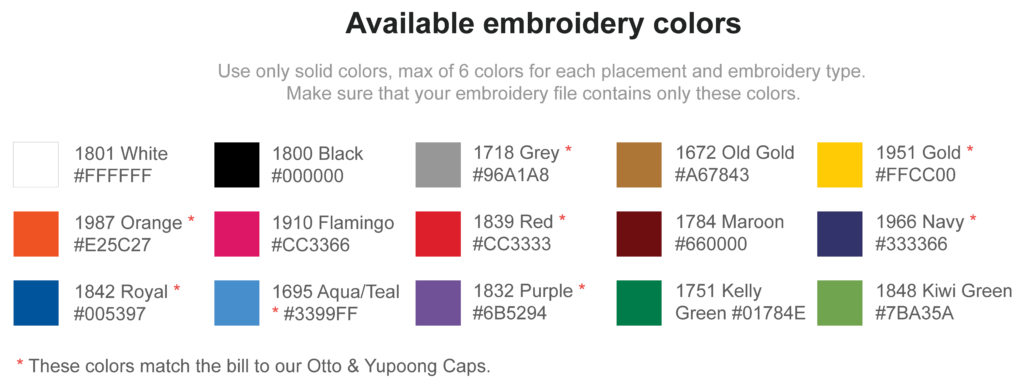
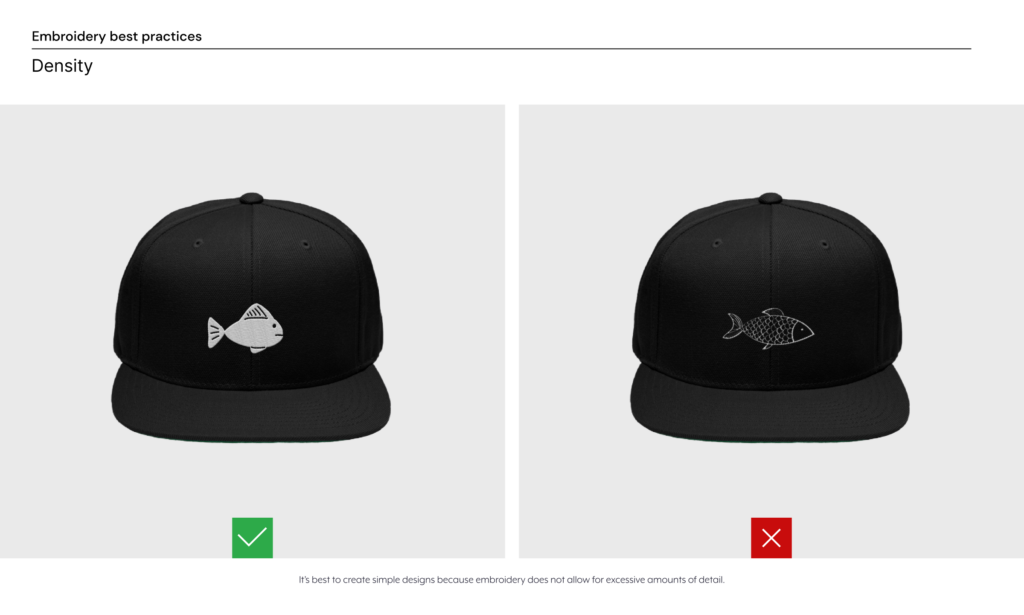
Choose from up to six colors below. Simple, bold designs work best for embroidery. Avoid small details, thin lines or complicated artwork effects (e.g. distressing or drop shadows). These will not embroider well.
Embroidery basics
- Flat embroidery: A technique where stitches are embroidered flat on the surface.
- Tatami fill: Rows of run stitches. Used to fill large areas.
- Run stitch: A single line stitch. Used for small design details.
File formatting
If submitting your design using a template, you will need to create your own hat designs using software like Adobe Illustrator (vectorized .eps or .PNG with a transparent background). Designs submitted that do not meet design file requirements will be rejected.
Download the hat design templates to ensure your design is formatted correctly and features available thread color options. Find the embroidery guide and learn about each type of hat below.
Design tips
Hat designs are more complex than other garments in the launcher. This is because designs are stitched (not printed). It’s important to understand what designs do and don’t work to avoid your design being rejected. See requirements below.
- We highly recommend submitting your embroidery graphics as vector files (PDF). Raster graphics (PNG) can be used as well if the resolution of the graphic is at least 300 DPI
- Design dimensions should be to scale as it will appear on the product
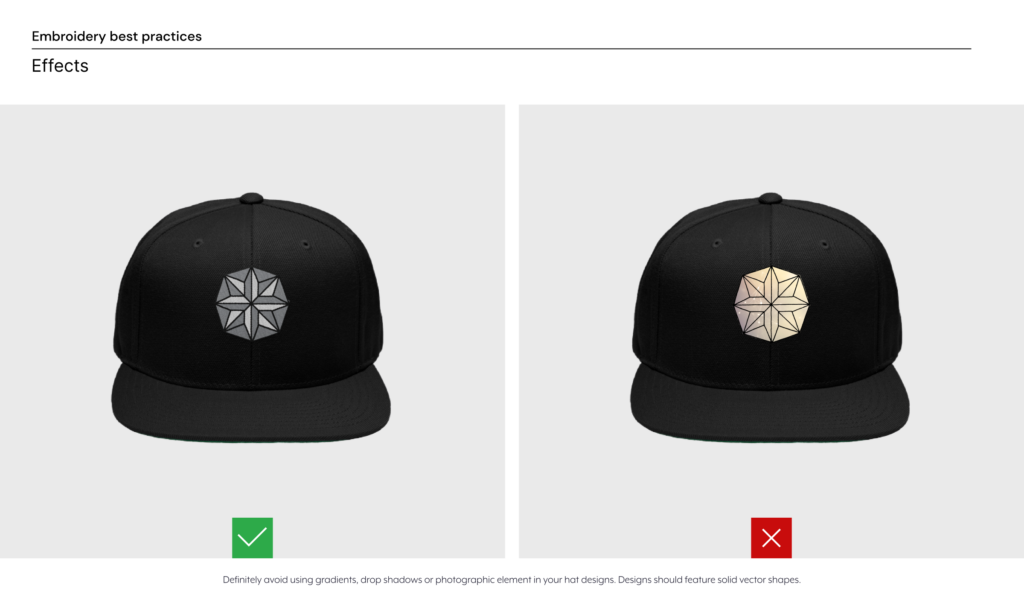
- Don’t include photographic images, gradients, fade or blend effects. Elements like these cannot be embroidered
- No transparencies or effects such as glow or drop shadows
- Use no more than 6 colors
See below minimum sizing requirements for your embroidery designs:
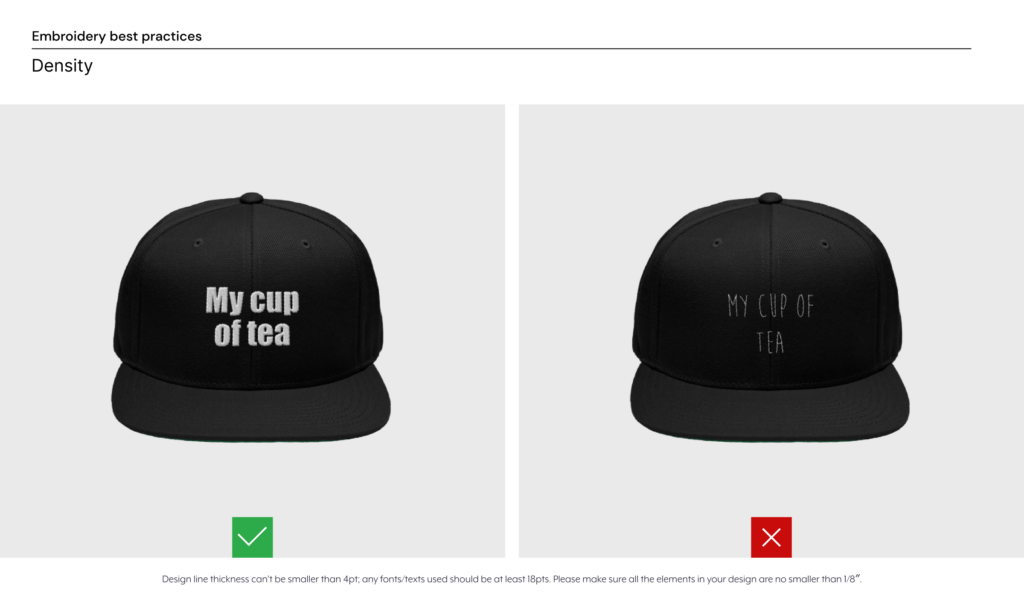
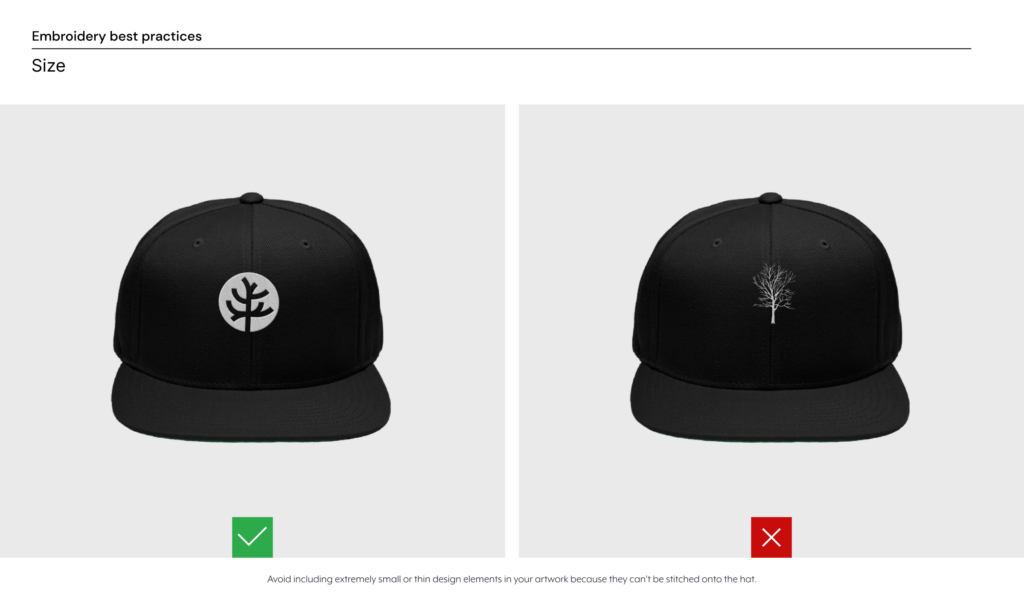
- Letters: no smaller than 18 pts/ 6.35mm
- Line thickness: no thinner than 4 pts / 1.411mm
- Design elements: no smaller than 9 pts / 3.175mm
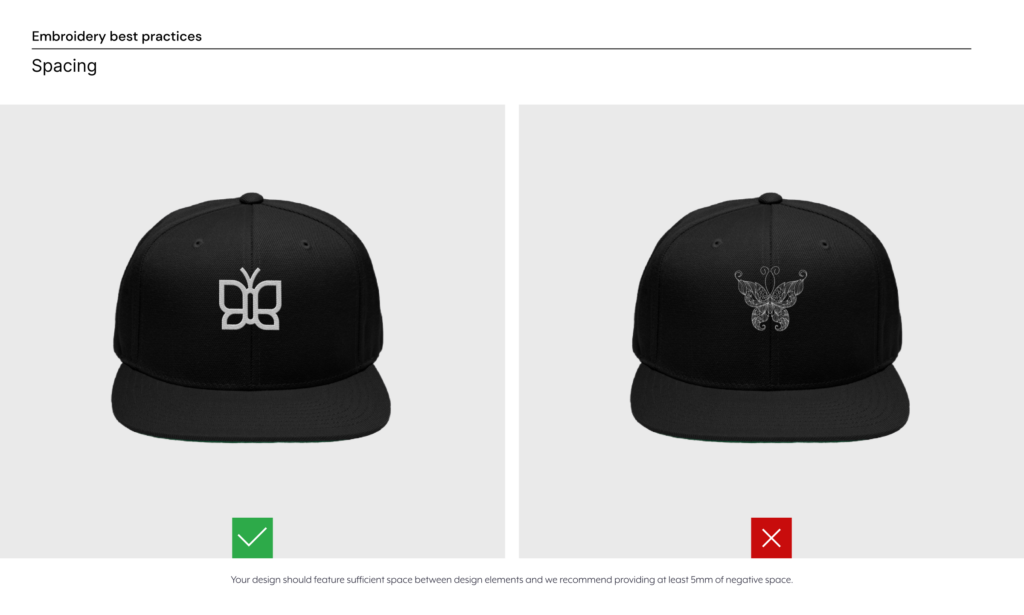
- Spacing between elements of your design: no smaller than 14.175 pts / 5mm
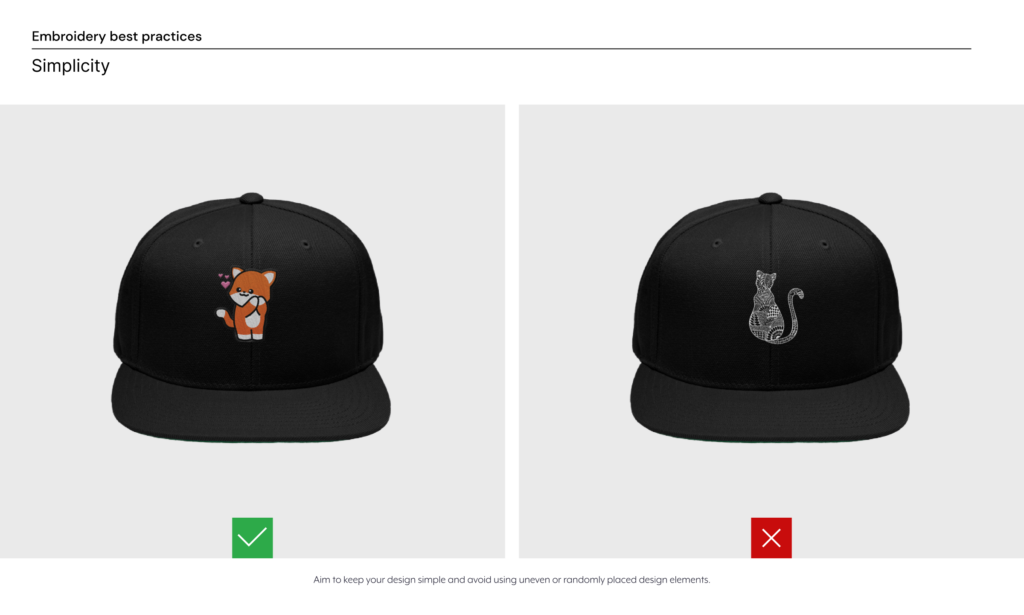
Here’s a few examples of do’s and don’ts for your embroidered hat designs.
Other must-follow guidelines
Use transparent backgrounds
Graphics should include transparent backgrounds. Elements outside the main design will be picked up and result in unwanted embroidery stitches on the end product.
Convert your fonts to outline
All fonts should be converted to outlines unless your graphic is in PNG format. That way you don’t have to send us the font files.
Stay within the maximum stitch count
If your graphic covers a very large part of the embroidery area, it may exceed the maximum limit of 15,000 stitches. In such case, your order will be put on hold.
Remove embroidery file template guidelines
If you use our downloadable templates, delete the guide layers before saving your files. If you don’t delete them, they’ll be embroidered.
Order samples
The best way to make sure your embroidery design looks the way you want is to order a sample of your work. We also recommend ordering an embroidery sample to learn about our techniques and stitch types.
Remember the back design option
You can embroider a small design (e.g. your brand logo) on the back of the hat. The design will be embroidered in flat embroidery.
Create embroidery-unique designs
Embroidery is not printing, so most graphics that work on other products won’t be suitable for embroidery.
Finally, when in doubt keep it simple
Clean designs with bold lines and text work best for embroidery. If your design is too complex (e.g. contains gradients or intricate details), your order will be put on hold.
